Shaders for the Web
Learn how to make OpenGL shaders using the programming language GLSL, and gain insight on how the top websites use hardware-enabled graphics.

Taught by
Rik Lomas

Get access to Shaders for the Web
- Practical, go-at-your-own pace learning, with help from our industry experts and experienced teachers
- Projects and code that you can alter and include in your own sites and portfolio
- Resources to get you started and going post-course
Your instructor

Rik Lomas
Course structure
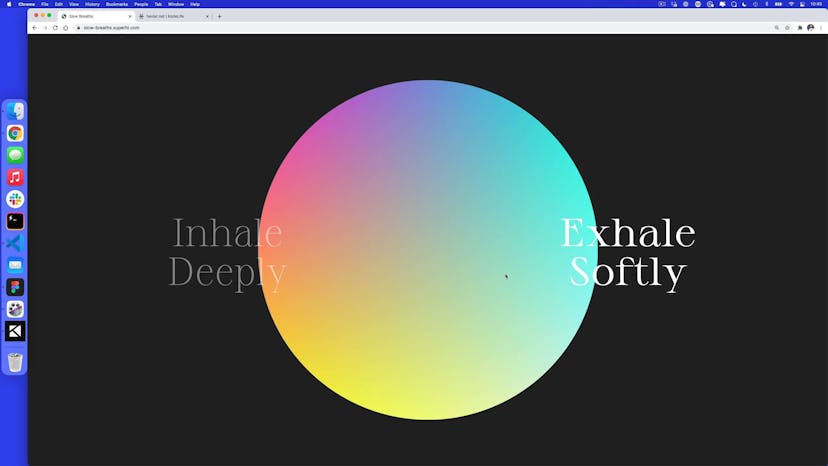
Lesson 01
Intro to Slow Breaths
Lesson 02
What exactly is a shader?
Lesson 03
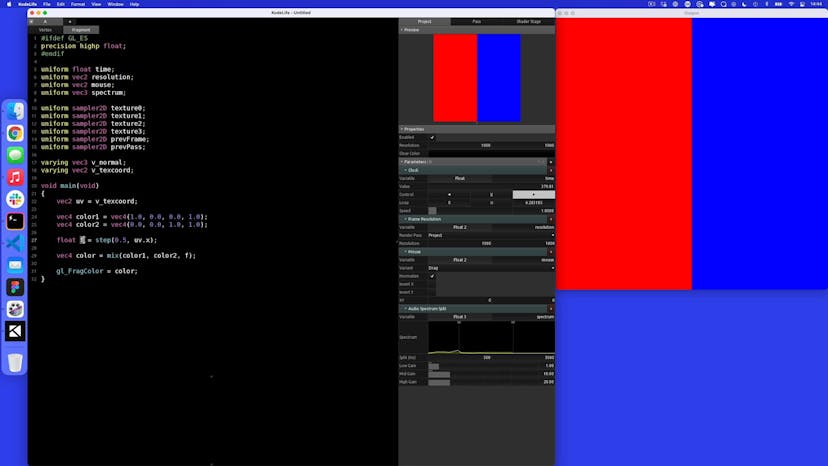
How to mix colors
Lesson 04
Mixing gradients together
Lesson 05
Adding movement with the time uniform
Lesson 06
Putting in correct colors
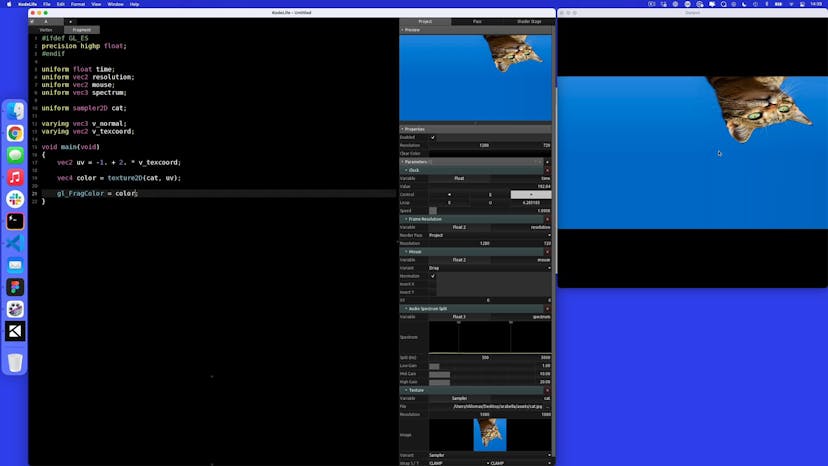
Lesson 07
Adding a texture to our shader
Lesson 08
Sampling points using texture2D
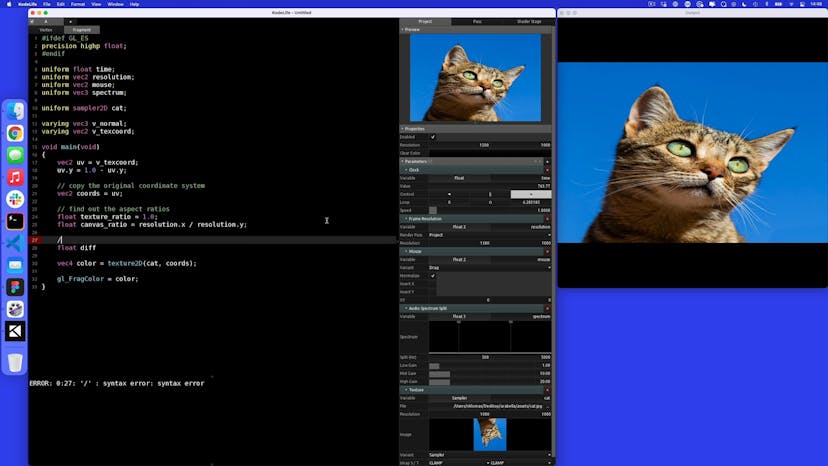
Lesson 09
Using a displacement texture
Lesson 10
Cleaning up our shader, ready for the web!
Lesson 11
Setting up our website

Lesson 12
Adding GlslCanvas
Lesson 13
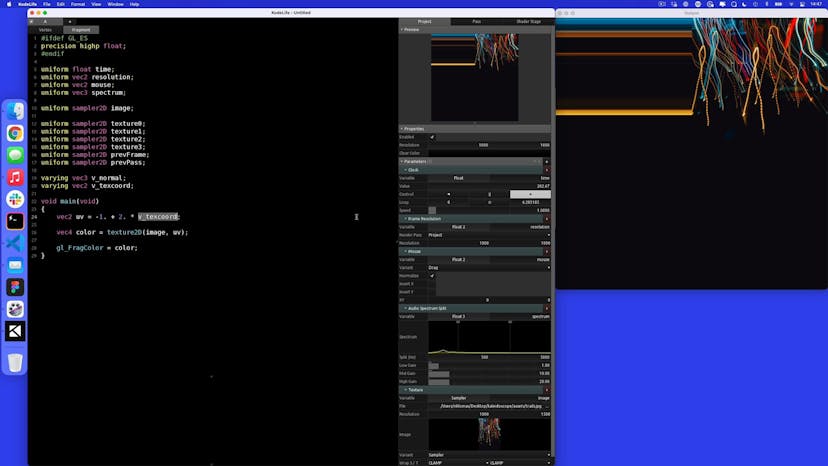
Adding our KodeLife code
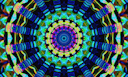
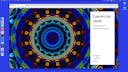
Lesson 01
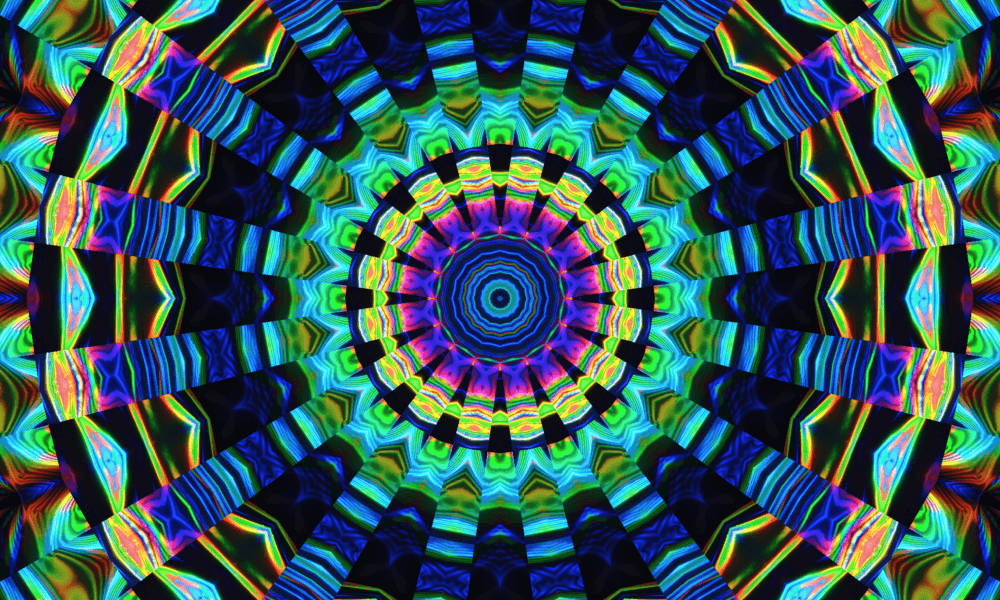
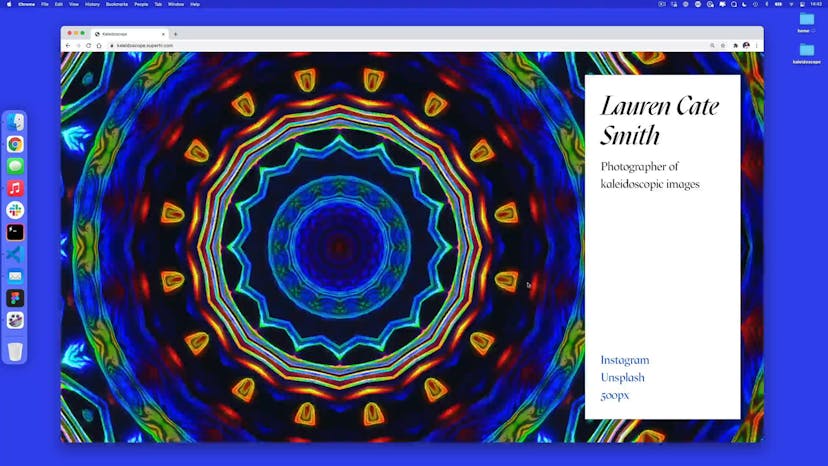
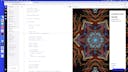
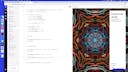
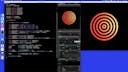
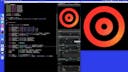
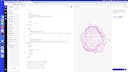
Welcome to Kaleidoscope!
Lesson 02
Sampling the texture
Lesson 03
Resampling texture points using radius and angle
Lesson 04
Altering the sample angle
Lesson 05
Cleaning up our code for GlslCanvas
Lesson 06
Setting up our website
Lesson 07
Adding a texture
Lesson 08
Stopping canvas pixelation

Lesson 09
Fixing canvas size on browser resize
Lesson 10
Adding mouse movement
Lesson 11
Changing the texture in a slideshow
Lesson 01
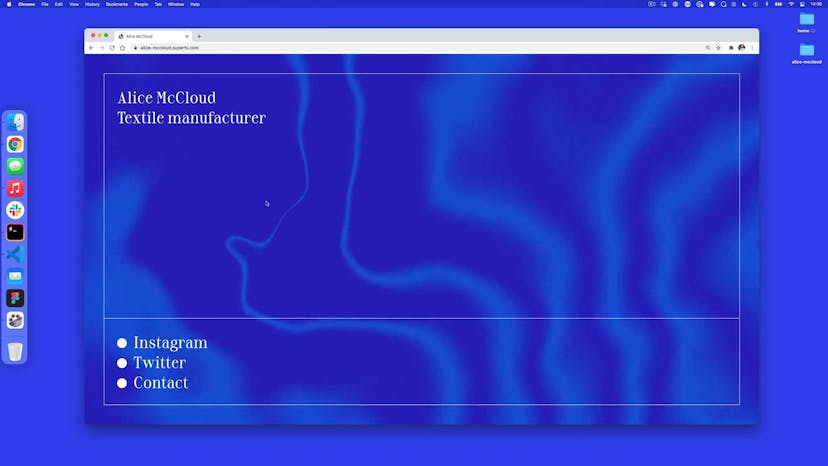
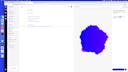
Welcome to Alice McCloud
Lesson 02
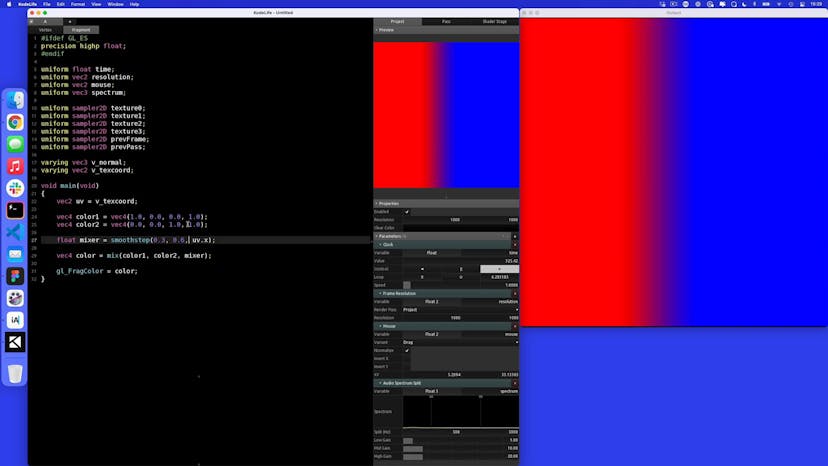
What are step and smoothstep?

Lesson 03
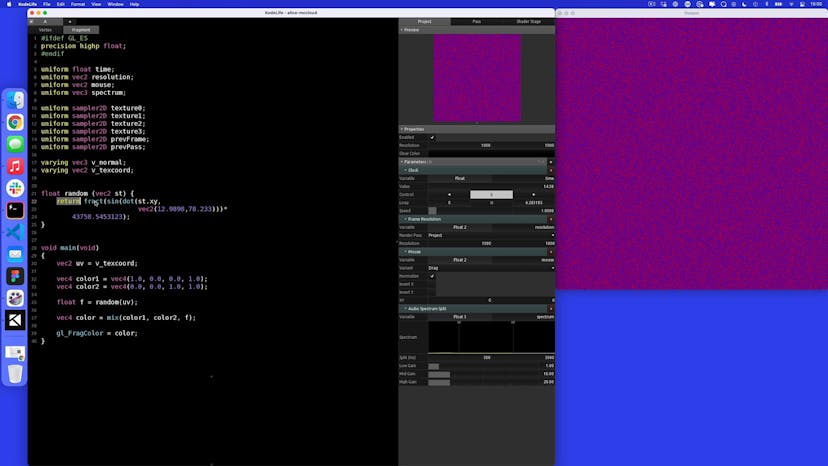
Randomness in GLSL
Lesson 04
From randomness to noise
Lesson 05
Fractional Brownian motion
Lesson 06
Moving our FBM pattern
Lesson 07
Using step and smoothstep to control the mix

Lesson 08
Adding grain using random
Lesson 09
Adding movement with time and rotation
Lesson 10
HSV to RGB
Lesson 11
Making our code ready for GlslCanvas
Lesson 12
Setting up our website
Lesson 13
Loading a fragment shader
Lesson 14
Sizing our canvas
Lesson 15
Adding mouse movement
Lesson 16
How to add a random seed uniform
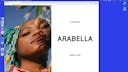
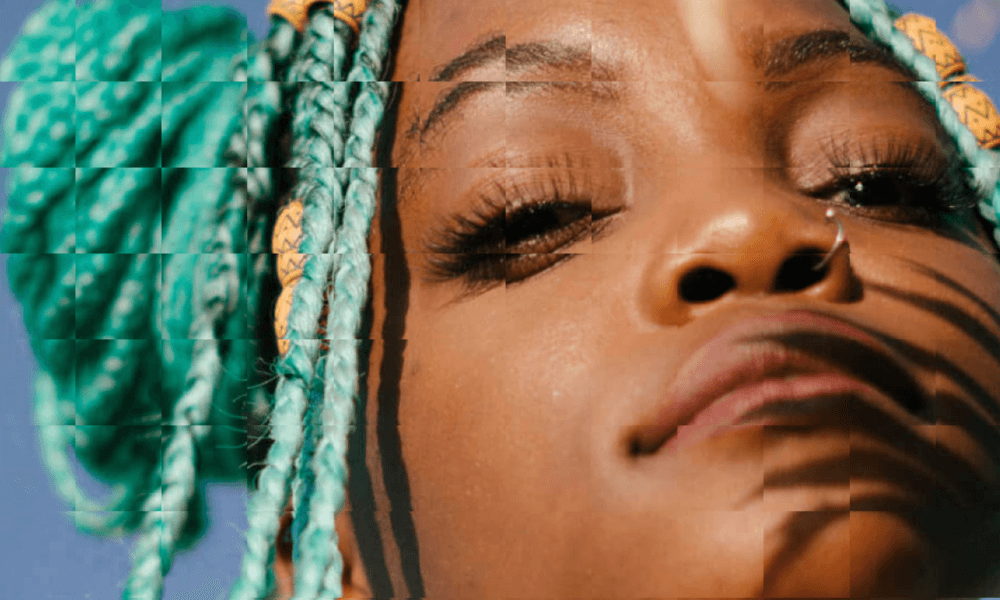
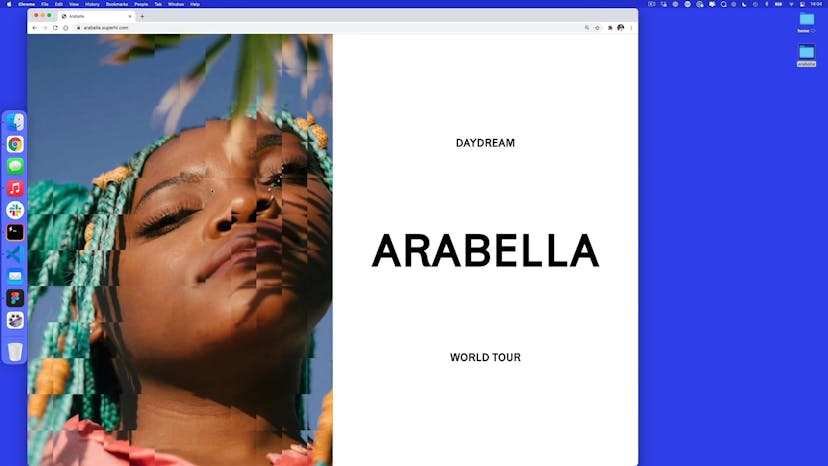
Lesson 01
Welcome to Arabella
Lesson 02
Adding a texture
Lesson 03
How to keep the aspect ratio
Lesson 04
Keeping the aspect ratio anchored to the center
Lesson 05
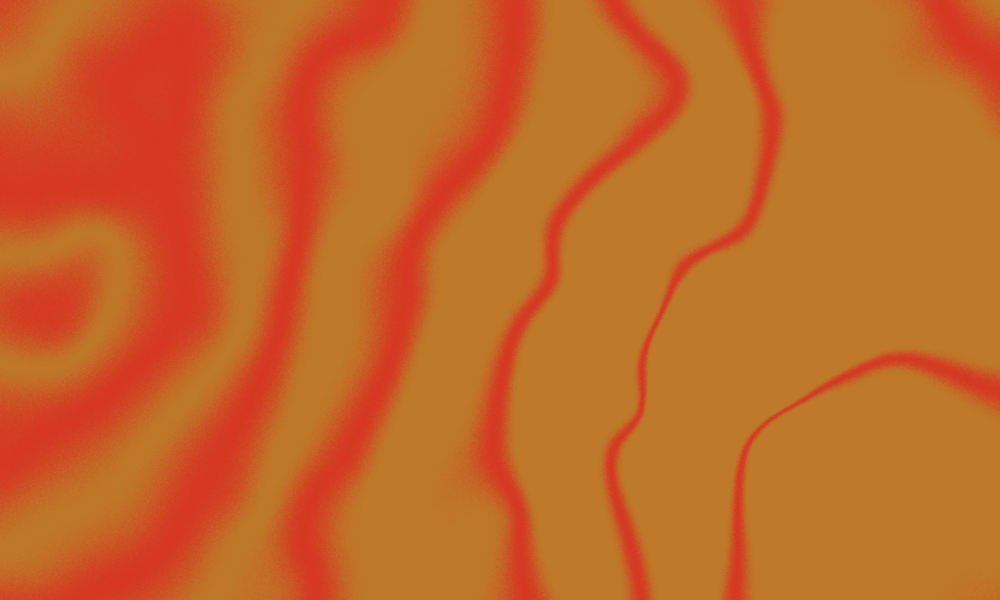
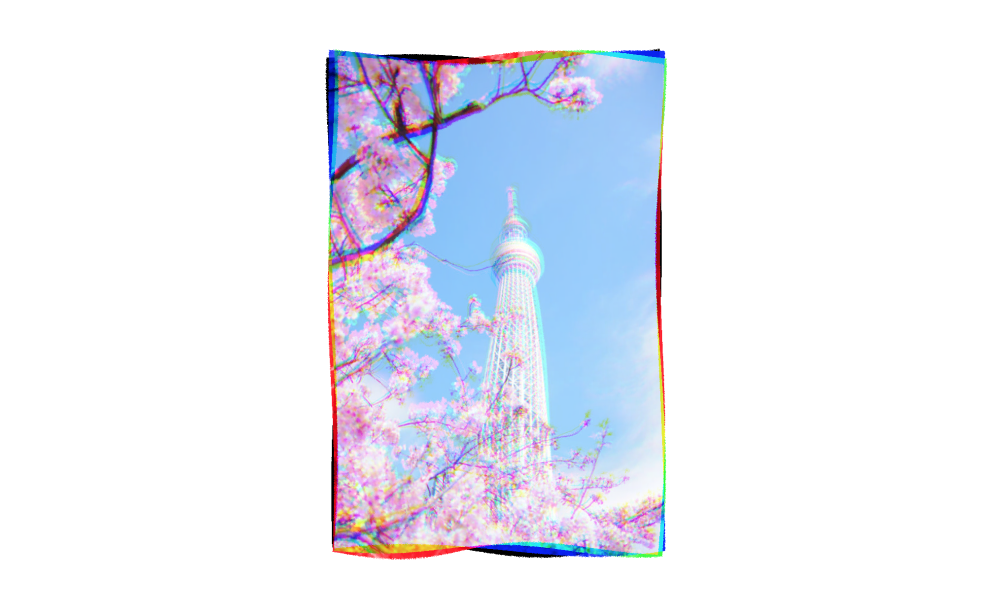
Adding distortion
Lesson 06
Making a wave with distortion
Lesson 07
Distortion variations
Lesson 08
Making a safe area
Lesson 09
Grouping distortion into blocks
Lesson 10
Adding mouse movement
Lesson 11
Creating our website
Lesson 12
Setting up multiple canvases
Lesson 13
Adding our KodeLife code
Lesson 14
Adding a random seed
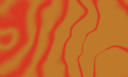
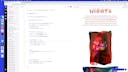
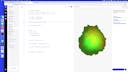
Homework 01
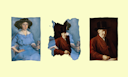
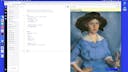
Fiona McLaughlin
Lesson 01
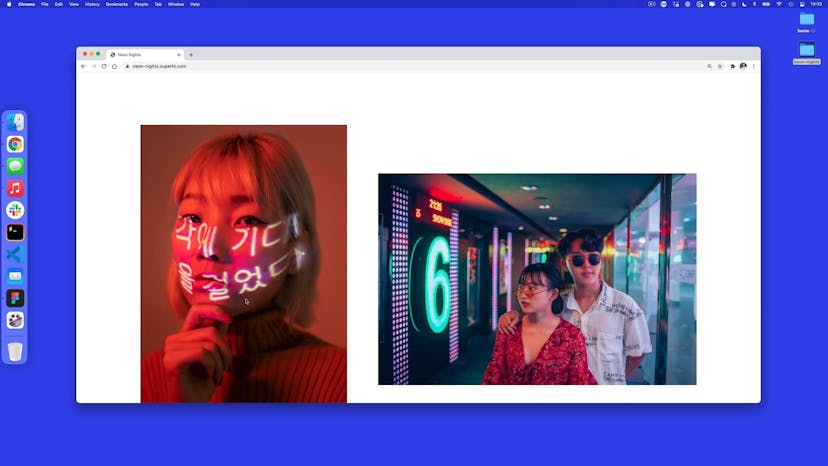
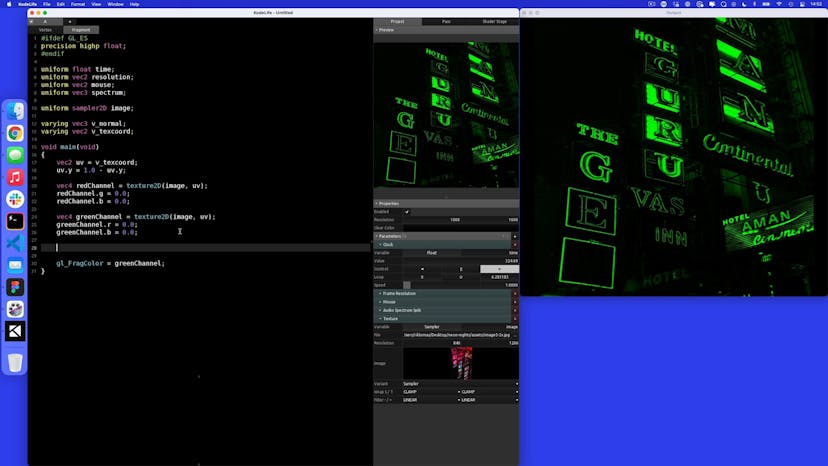
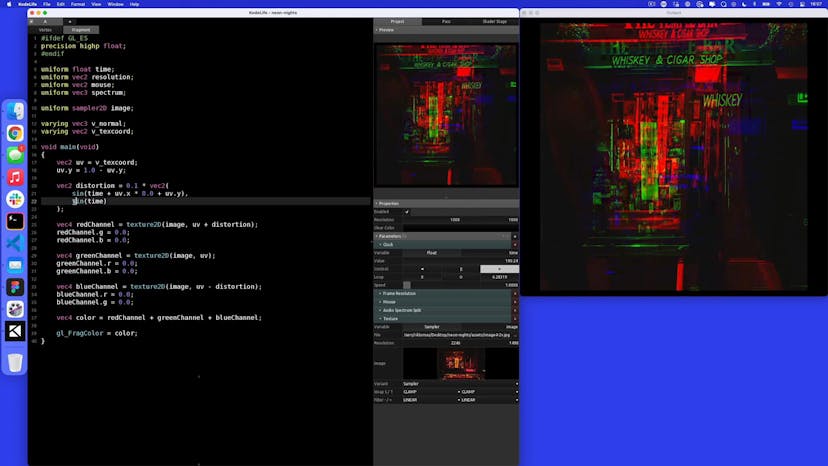
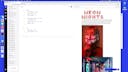
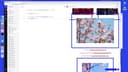
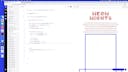
Welcome to Neon Nights
Lesson 02
Adding color shift
Lesson 03
Adding a wave distortion pattern
Lesson 04
Sampling colors within bounds
Lesson 05
Sampling with gl_FragCoord
Lesson 06
Rotating our distortion
Lesson 07
Adding grain to our distortion
Lesson 08
Adding a strength uniform
Lesson 09
Creating our website

Lesson 10
Adding and styling a canvas tag
Lesson 11
Replacing images with canvas tags
Lesson 12
Loading our sandbox
Lesson 13
Adding our fragment shader
Lesson 14
Making the shader retina-friendly
Lesson 15
Changing the strength with IntersectionObserver
Lesson 16
Variations on the strength uniform

Lesson 01
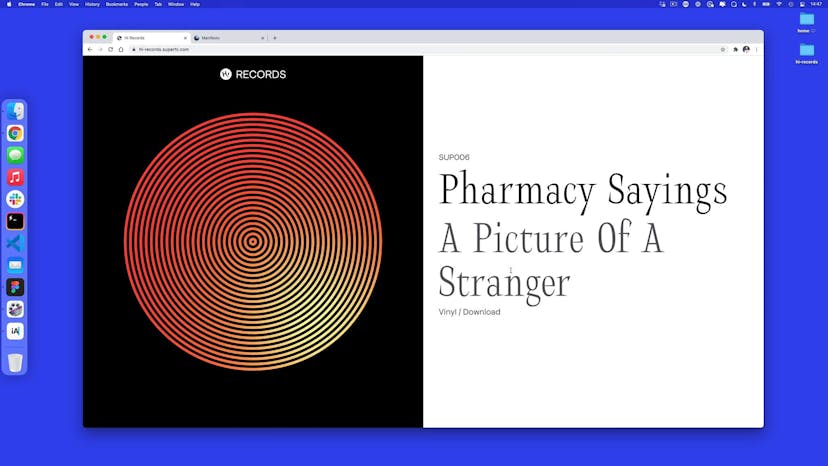
Welcome to Hi Records
Lesson 02
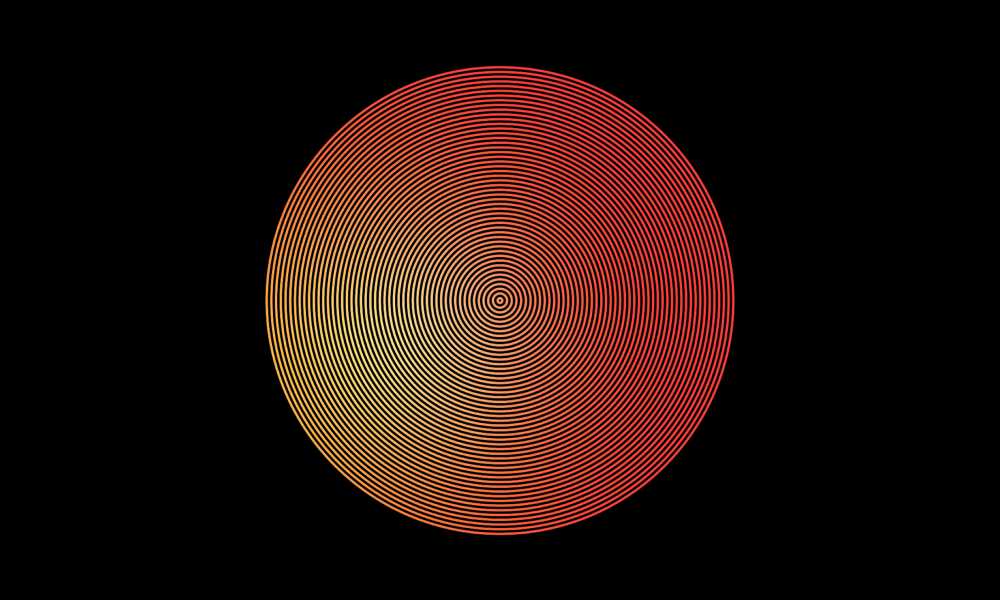
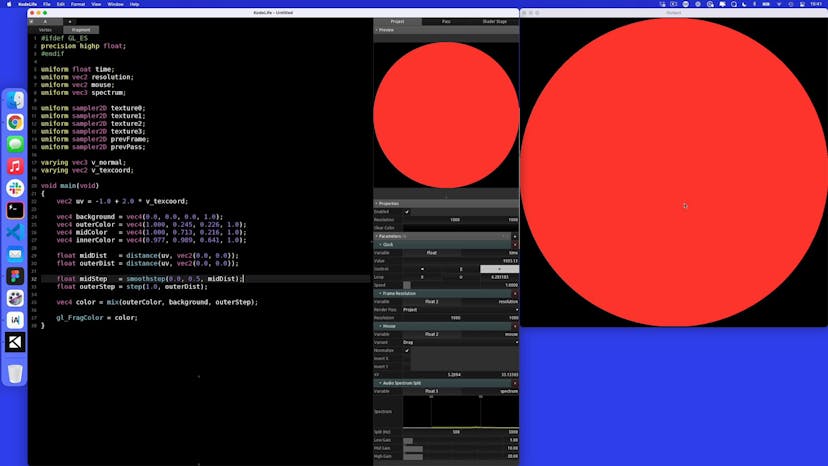
Making a circle with step and smoothstep
Lesson 03
Mixing colors using steps
Lesson 04
Animating our gradient
Lesson 05
Adding record ridges
Lesson 06
Variations on outerDist
Lesson 07
Adding grain to our gradient
Lesson 08
Adding color palettes with arrays
Lesson 09
Adding a scroll uniform to pick palettes
Lesson 10
Blending color palettes
Lesson 11
How to pick from an array using WebGL
Lesson 12
Making the shader ready for the web
Lesson 13
Making our website
Lesson 14
Adding Javascript
Lesson 15
Adding scroll and color uniforms
Lesson 01
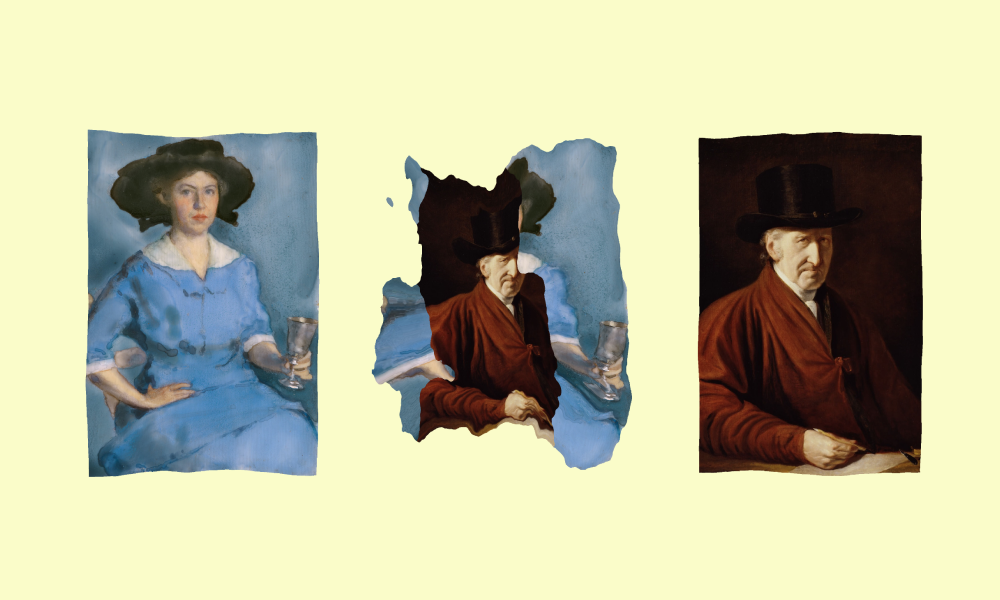
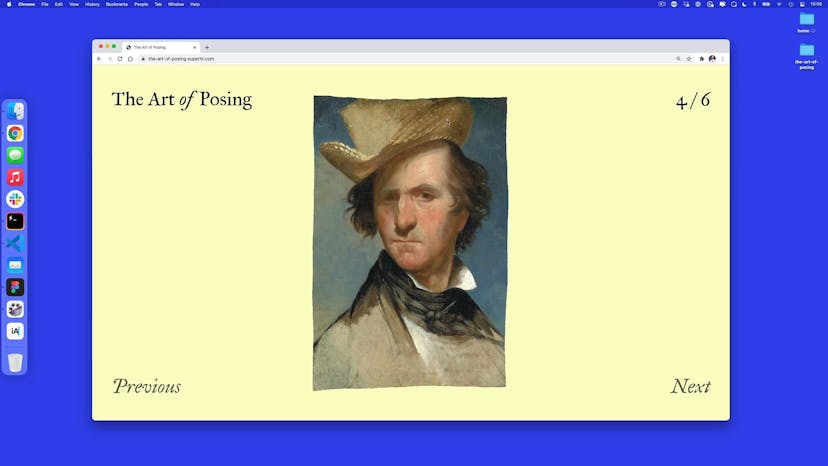
Welcome to The Art of Posing
Lesson 02
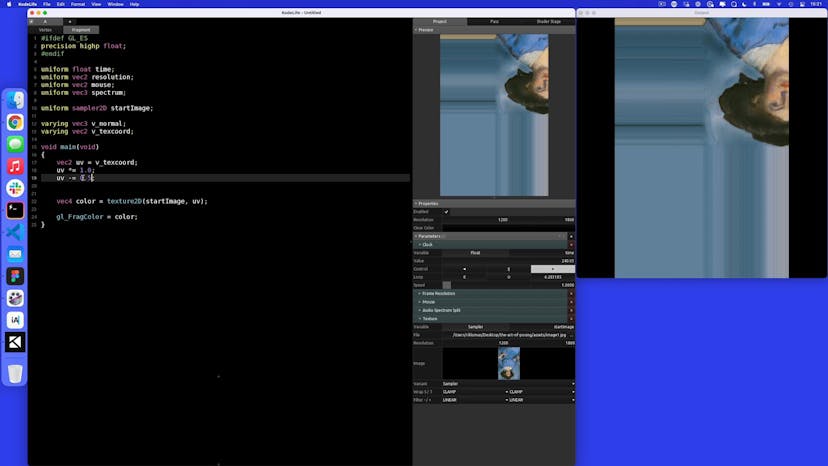
Resampling uv to start in the center
Lesson 03
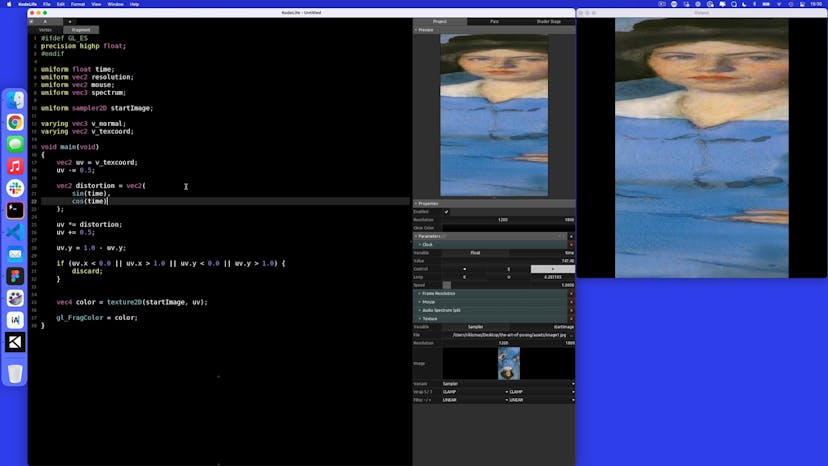
Adding a distortion wave
Lesson 04
Adding noise and FBM to distortion
Lesson 05
Adding a strength and timeline uniform
Lesson 06
Adding a transition between textures
Lesson 07
Adding a wave-based transition
Lesson 08
Setting up multiple textures
Lesson 09
Getting ready for the web
Lesson 10
HTML and CSS setup
Lesson 11
Setting up a slideshow in Javascript
Lesson 12
Adding our canvas
Lesson 13
Updating our fragment for a list of projects
Lesson 14
Changing our GLSL code to fit the slideshow
Lesson 15
Adding the startIndex, endIndex and timeline uniforms
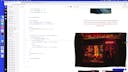
Homework 01
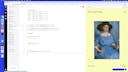
Slick Oil
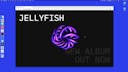
Lesson 01
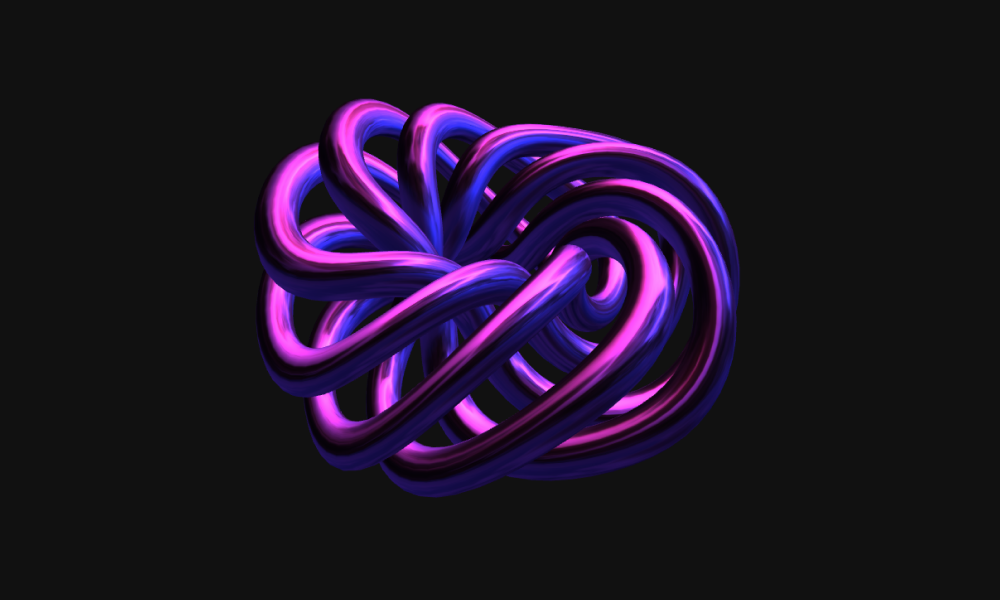
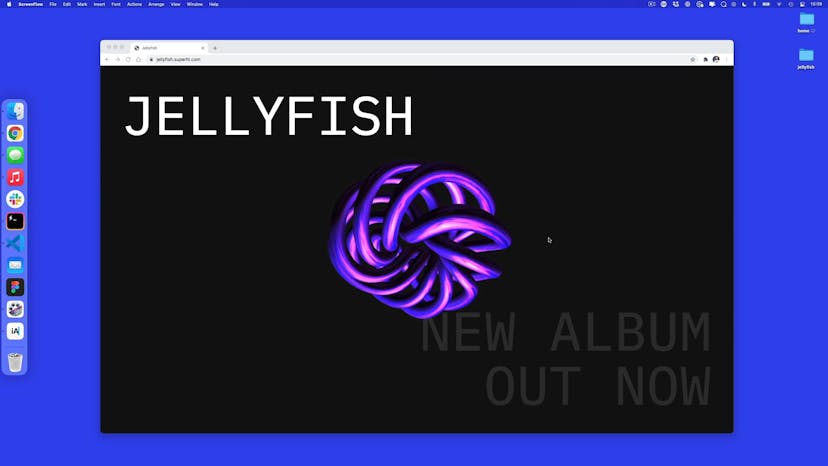
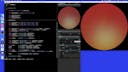
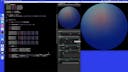
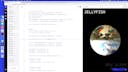
Welcome to Jellyfish
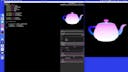
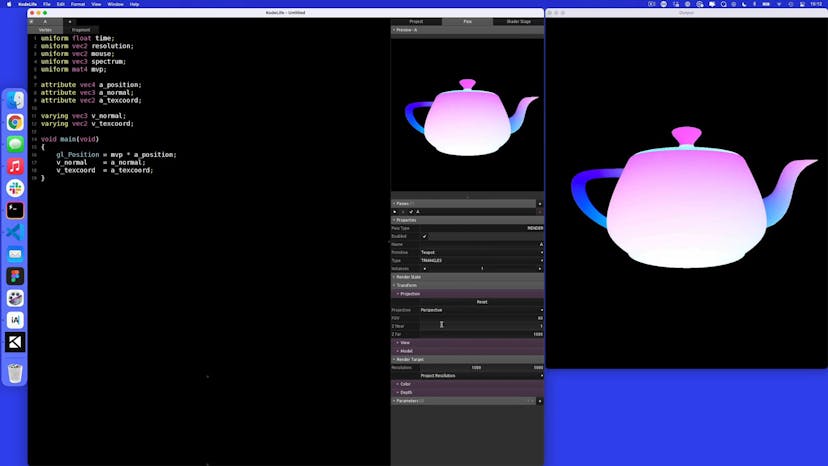
Lesson 02
How to do 3D in KodeLife
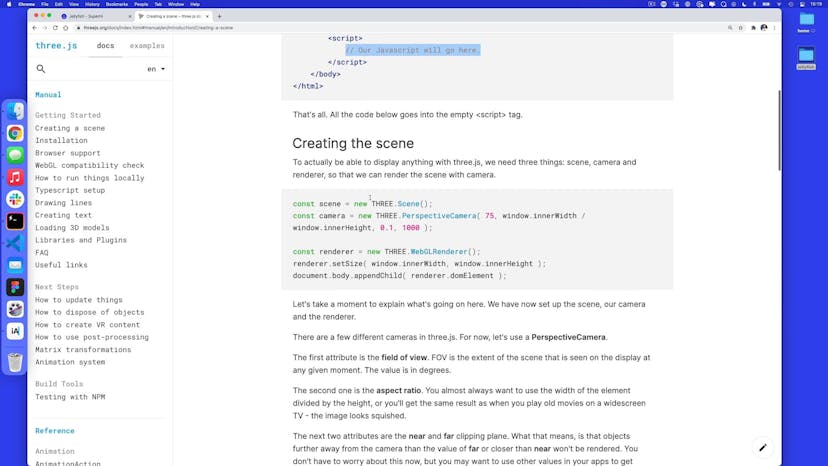
Lesson 03
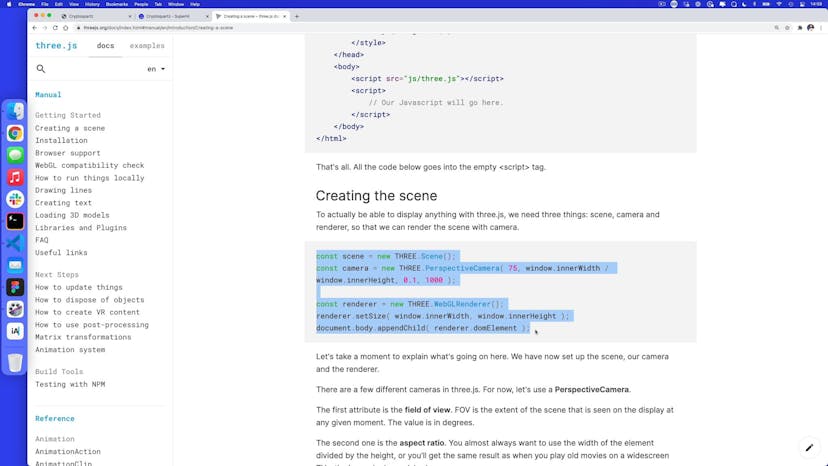
Setting up a scene in Three.js
Lesson 04
Setting a background and geometry
Lesson 05
Setting up a ShaderMaterial in Three.js
Lesson 06
Adding a vertex shader
Lesson 07
Adding a time uniform
Lesson 08
Adding a texture uniform
Lesson 09
Ambient lighting
Lesson 10
Diffuse lighting
Lesson 11
Specular lighting
Lesson 12
Adding multiple lights
Lesson 13
Texture cubes
Lesson 14
Rotating vertices in the vertex shader
Lesson 15
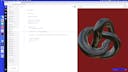
Making the jellyfish
Lesson 16
Adding a camera zoom on load
Lesson 17
Updating the renderer on window resize

Lesson 18
Variation: convex to concave
Lesson 19
Variation: bubble refraction
Lesson 20
Variation: Making a thin film interference bubble
Lesson 21
Using variations in the final project
Lesson 01
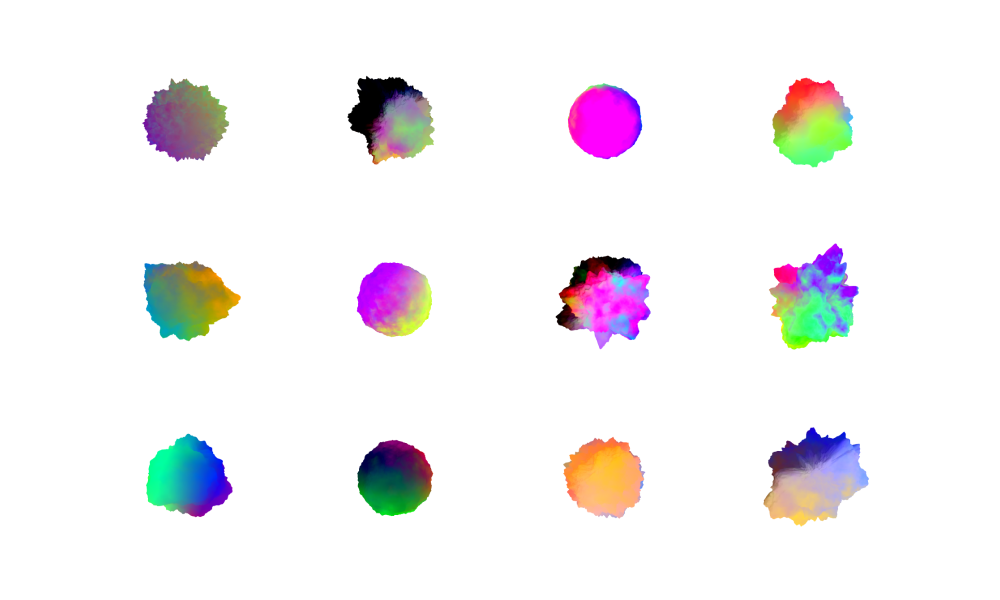
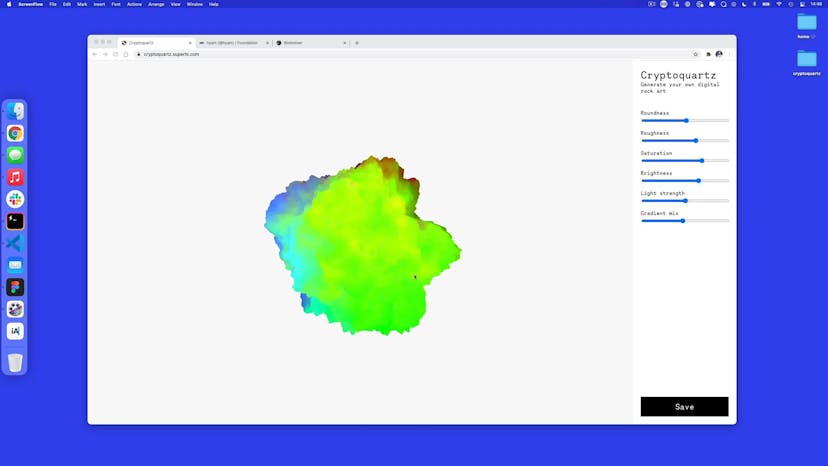
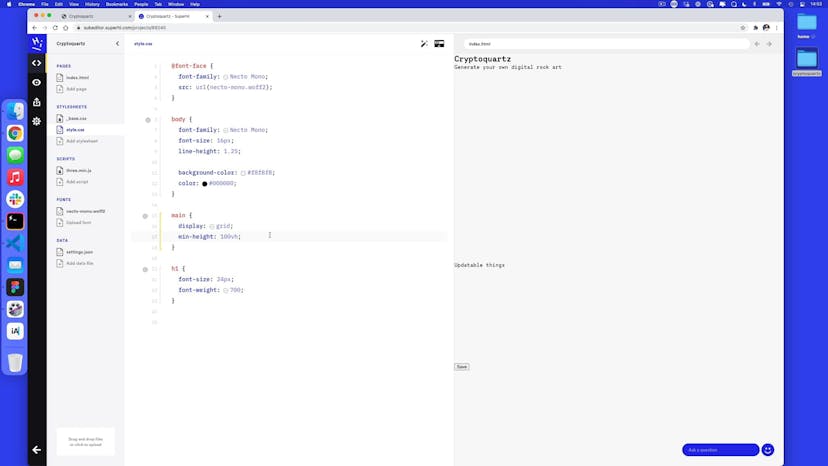
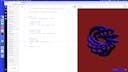
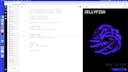
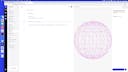
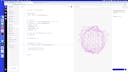
Welcome to Cryptoquartz

Lesson 02
HTML + CSS setup
Lesson 03
Adding a scene with Three.js
Lesson 04
Adding a sphere geometry
Lesson 05
Setting up vertex and fragment shaders
Lesson 06
Changing the vertex shaders
Lesson 07
Adding FBM to our vertices
Lesson 08
Adding time and seed uniforms
Lesson 09
Adding slider uniforms
Lesson 10
Adding color based on varyings

Lesson 11
Ambient and diffuse lighting
Lesson 12
Adding a struct

Lesson 13
Adding in sliders for lighting

Lesson 14
Adding in new normals with dFdx and dFdy
Lesson 15
Changing to HSV colors
Lesson 16
Mixing two colors
Lesson 17
Creating some noise
Lesson 18
Adding saturation, brightness and gradient mix uniforms
Lesson 19
Better blending with step and smoothstep
Lesson 20
Adding rotation with vertex shaders
Lesson 21
Window resizing
Lesson 22
Click to download as an image
Lesson 23
Adding mouse movement to the lighting
Lesson 01
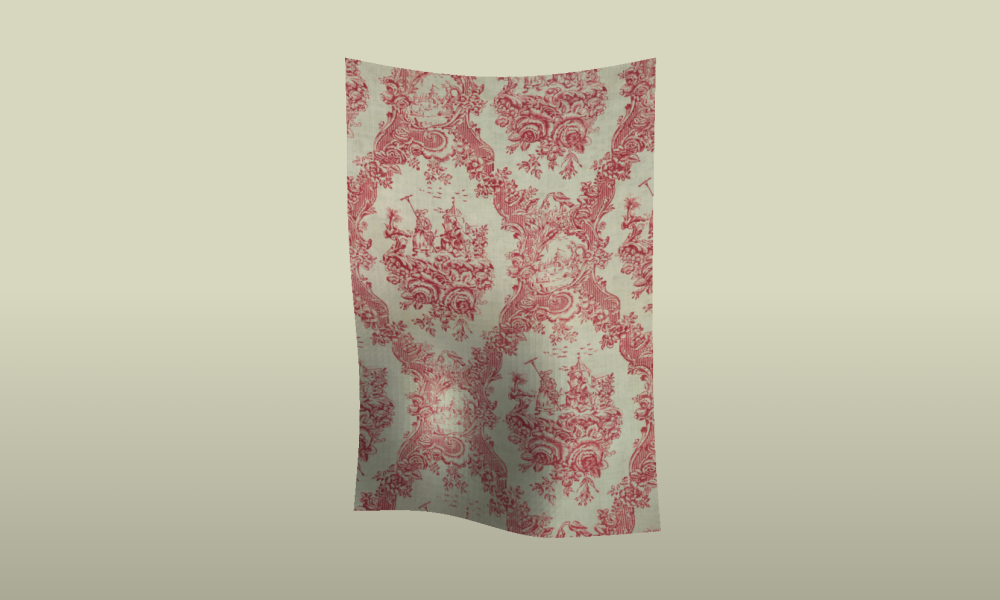
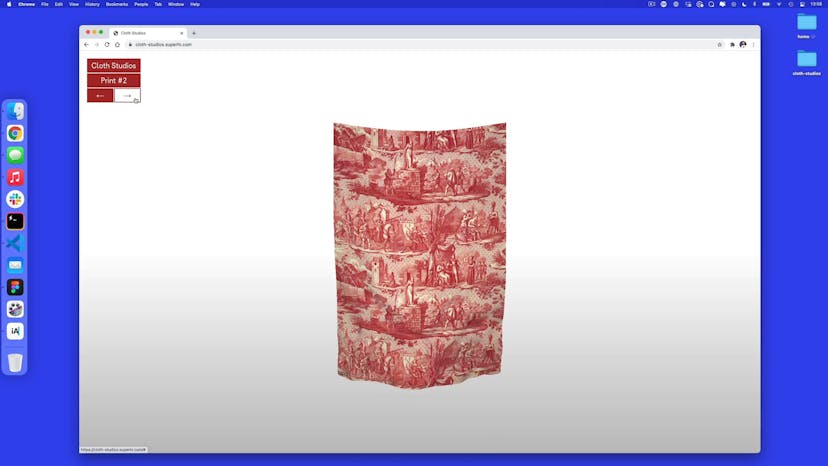
Welcome to Cloth Studios
Lesson 02
HTML + CSS setup
Lesson 03
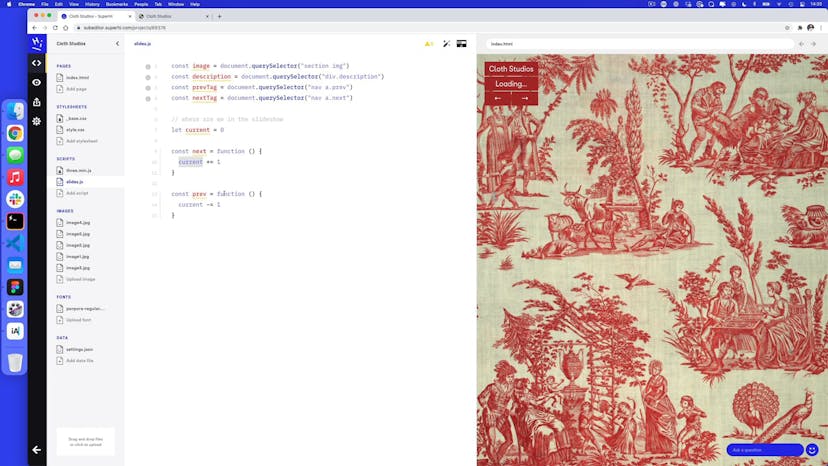
Adding a Javascript counter
Lesson 04
Updating content with a data structure
Lesson 05
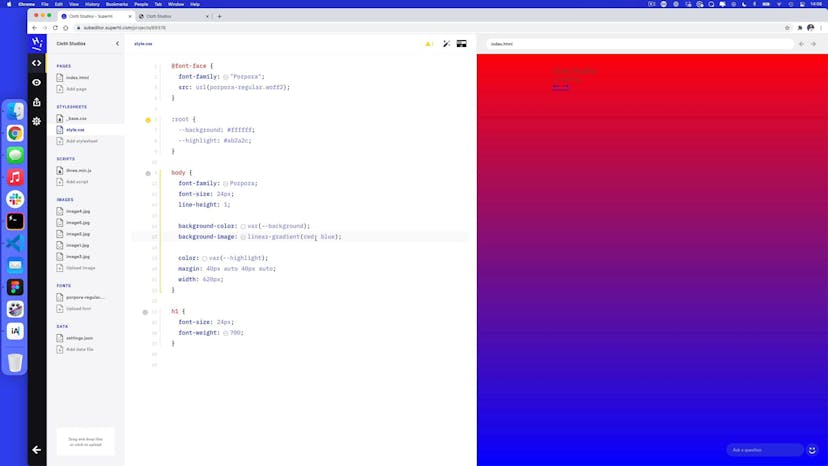
Adding a theme with CSS variables and Javascript
Lesson 06
Adding a Three.js scene
Lesson 07
Adding multiple planes
Lesson 08
Rotating the camera position
Lesson 09
Adding in a texture
Lesson 10
Making a shader material
Lesson 11
Adding ambient and diffuse lighting to our material

Lesson 12
Updating the time for each material
Lesson 13
Adding wind to our vertex shader
Lesson 14
Visualizing wind by passing varyings

Lesson 15
Adding in tension points and gravity
Lesson 16
Updating our lighting
Lesson 17
Adding a mouse object
Lesson 18
Adding a raycaster to convert 2D to 3D points
Lesson 19
Adding a mouse interaction depression
Lesson 20
Adding a hover strength to mouse interaction
Lesson 21
Updating on window resize
Lesson 22
Adding a camera rotation on load
Lesson 23
CSS animations on load
Lesson 24
Thank you for taking our course!
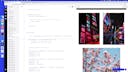
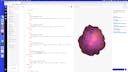
Homework 01
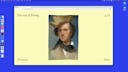
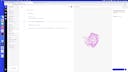
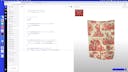
Vexillography
SuperHi students work at the best
Our students are based all over the world and work at creative companies large and small. Why not check out some of their work?
View student workFeeling stuck?
Don’t worry, we are here to help you with:
- Speedy help from one of our team members
- Detailed, relevant solutions
- Direct access to peer support through Discord!
Remember, there’s no such thing as a silly question, so don’t hesitate to reach out, we love hearing from you!