INTERMEDIATECOURSE
Animation for the Web
Take full control of web graphics and give your site interactions a bit of flourish with movement and animation.

Taught by
Rik Lomas
Taught by
Rik Lomas
In this go-at-your-own-pace course, SuperHi has designed and produced a series of projects all about hand-coding, styling, and animating SVGs to bring scalable, performance-friendly illustrations to life in the browser.
The course includes 12 hours of video lessons that will teach you how to handcraft animations with CSS, SVG, Javascript and GreenSock.
You'll learn how to craft drawings with code in Figma and then animate their motion and styling with both CSS animations and the industry standard GreenSock Animation API (GSAP).
This is a great next step for students who already have some knowledge of HTML and CSS, or have completed our Foundation HTML, CSS + Javascript + Javascript For Designers courses.
A computer (Windows, Mac or Linux) with the latest version of Chrome installed and a broadband internet connection. You’ll also want to set up a Figma account. That’s it!
From graphic designers looking to bring movement to their creations to developers aiming to add a bit of pizzazz to their site interactions, this course is for anyone who wants to learn how to use animation techniques for full control of graphics on the web.
This is a beginner course when it comes to page transitions, though we would recommend basic knowledge of HTML, CSS, and a bit of Javascript before starting. If you don’t have this just yet, trying our Learn To Code Now book, or taking our Foundation HTML, CSS + JS course and our Javascript For Designers course will help you feel as prepared as possible.
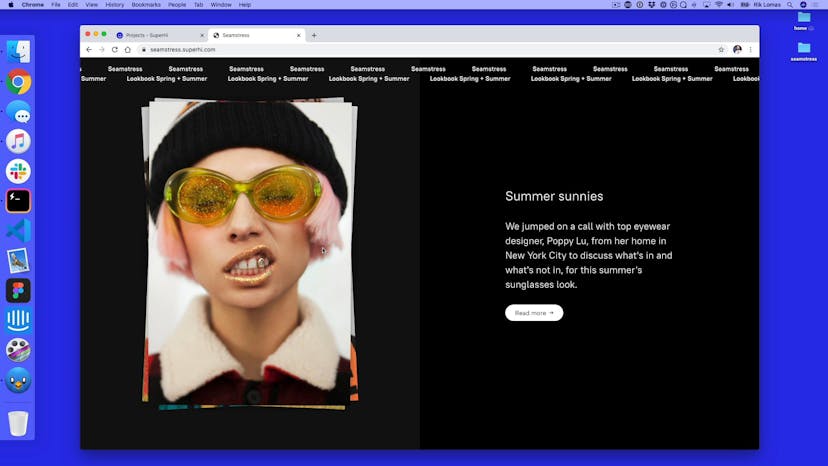
Welcome to the course! In the first lesson, we dive into how to make an animated slideshow and carousels with Greensock Animation Platform (GSAP).
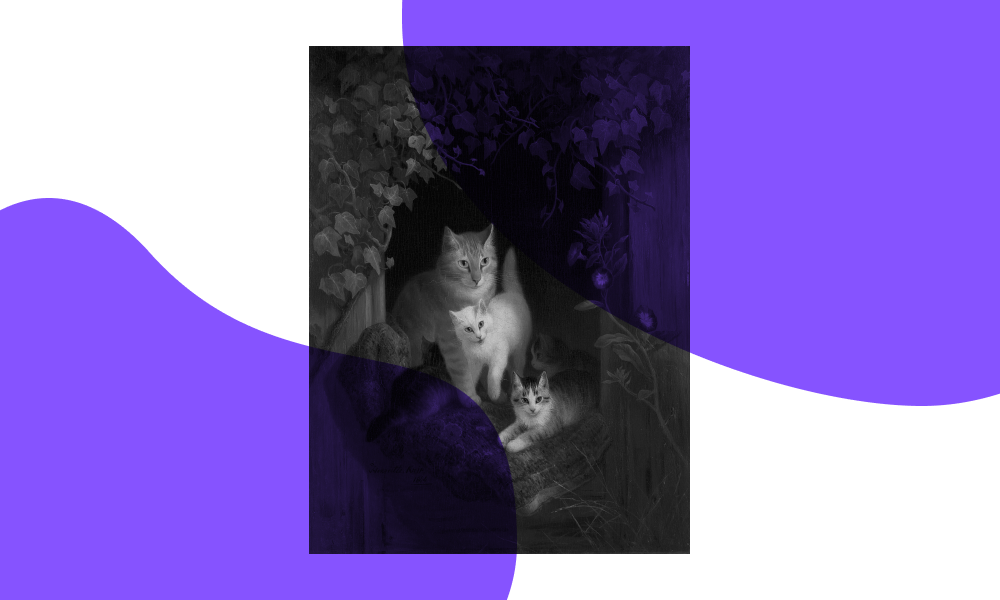
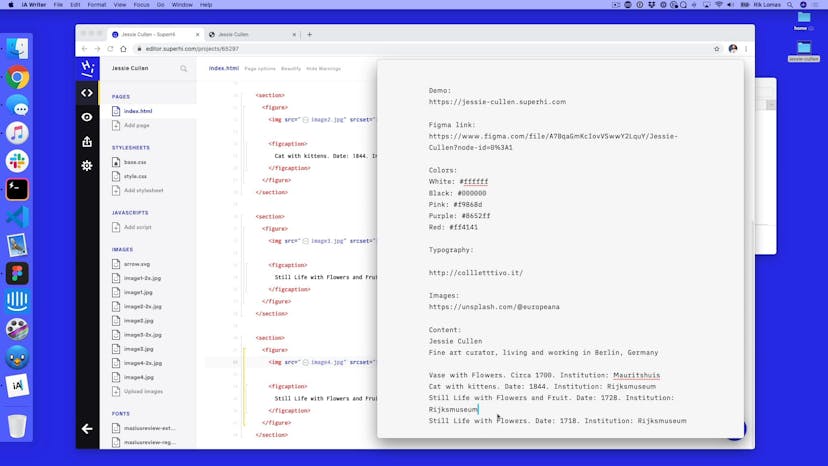
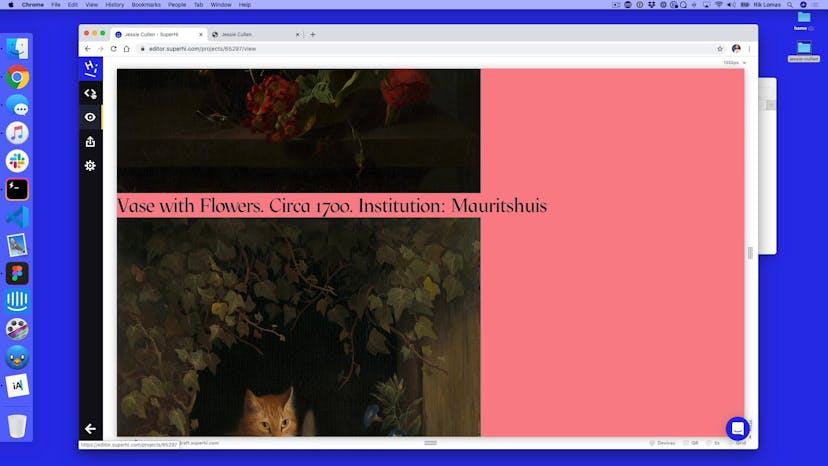
How exactly do we take a simple portfolio and make it look completely different? With animation, course! In this project we talk about SVGs, how to change SVG shapes with CSS and add in scroll effects.
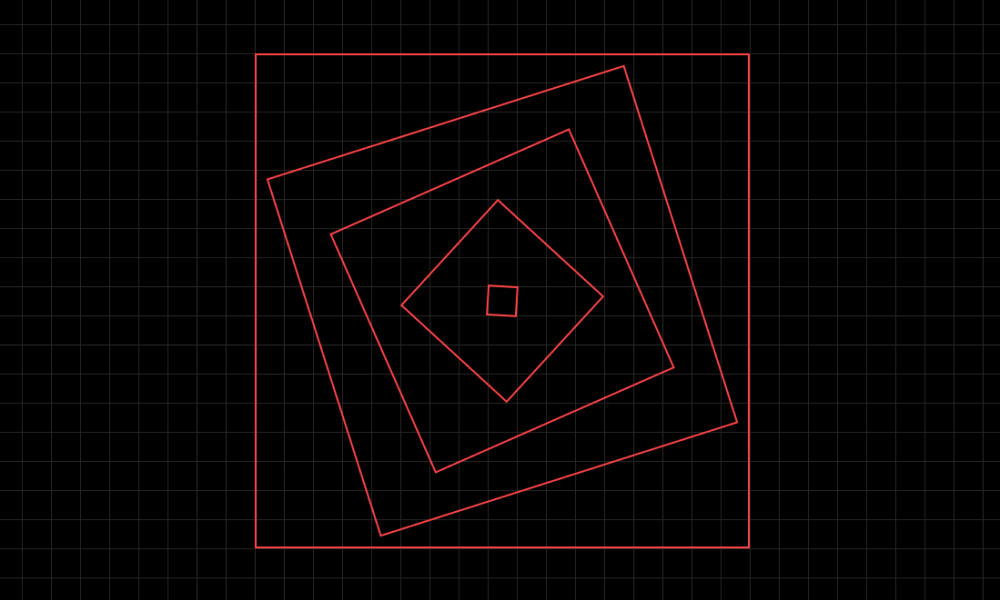
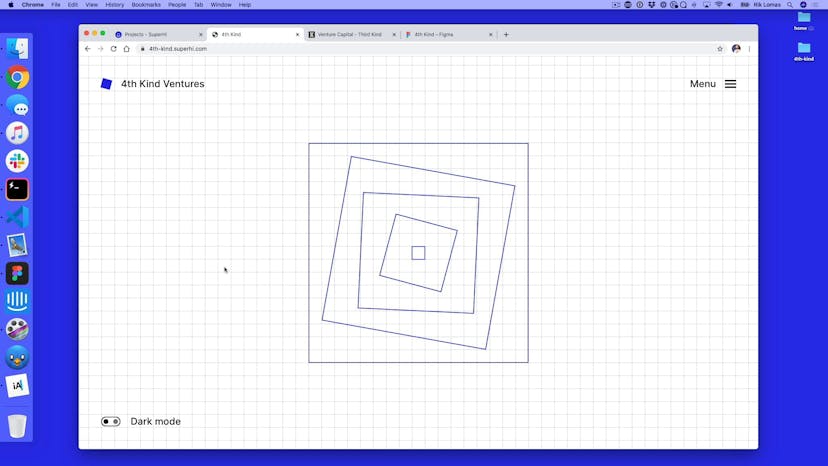
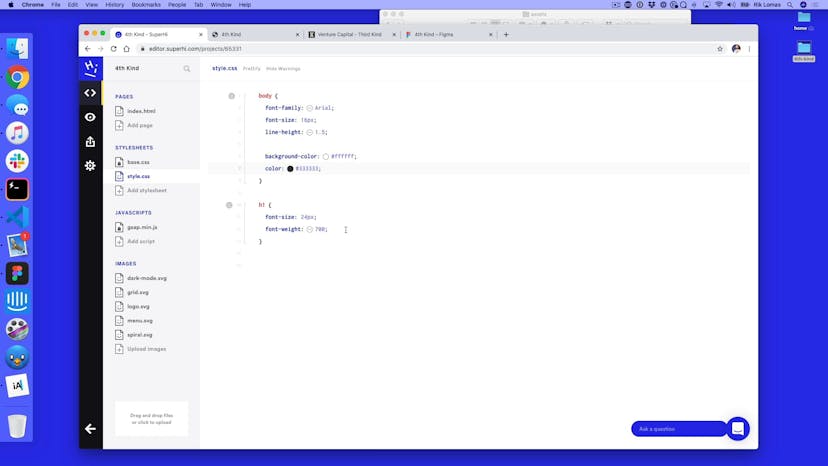
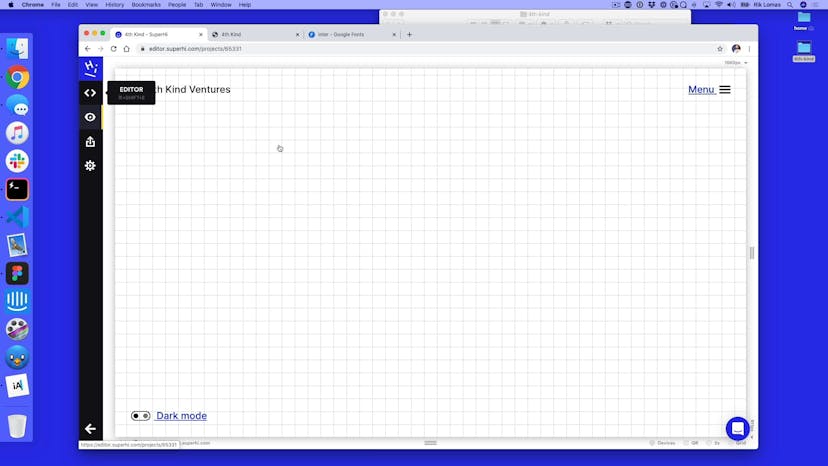
In the 4th Kind project, we focus more on how to change SVGs within the page itself – from making a burger menu icon toggle to an interactive spiral-style effect – along with adding CSS variables for the site's dark mode

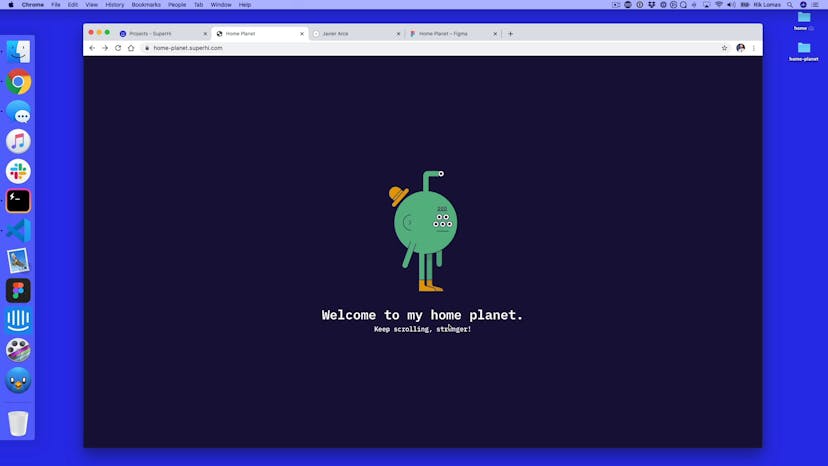
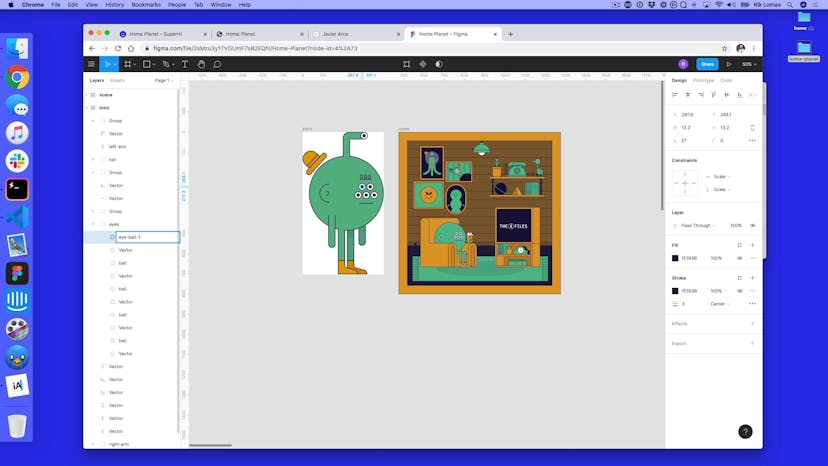
Rather than a home page, we're travelling to a home planet in project 4. In this one we talk about how to make immersive animated sites using both GSAP timelines and browser scrolling.

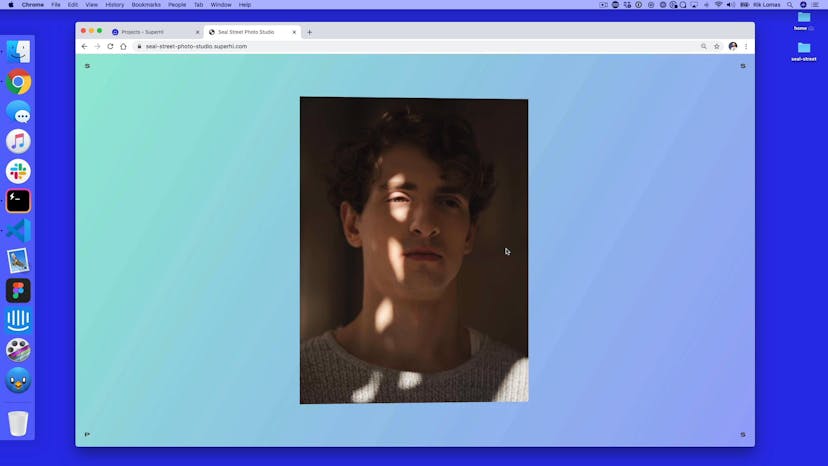
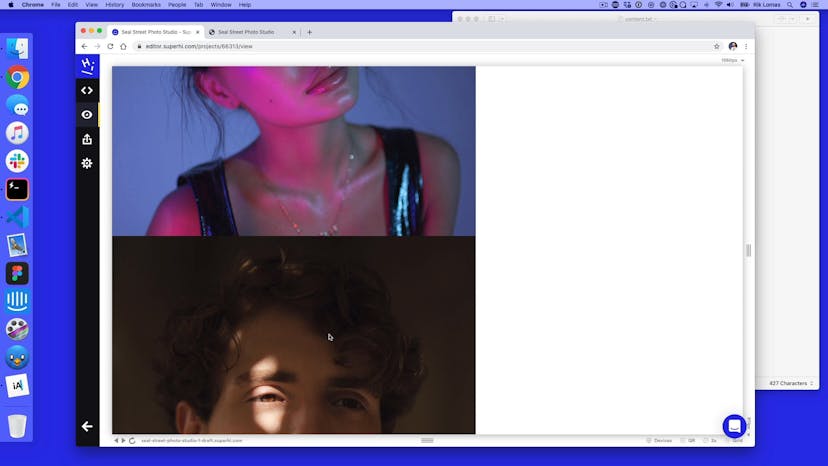
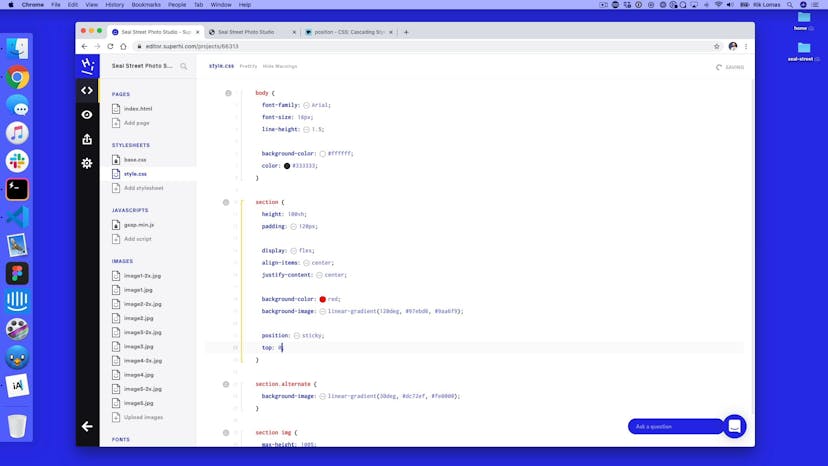
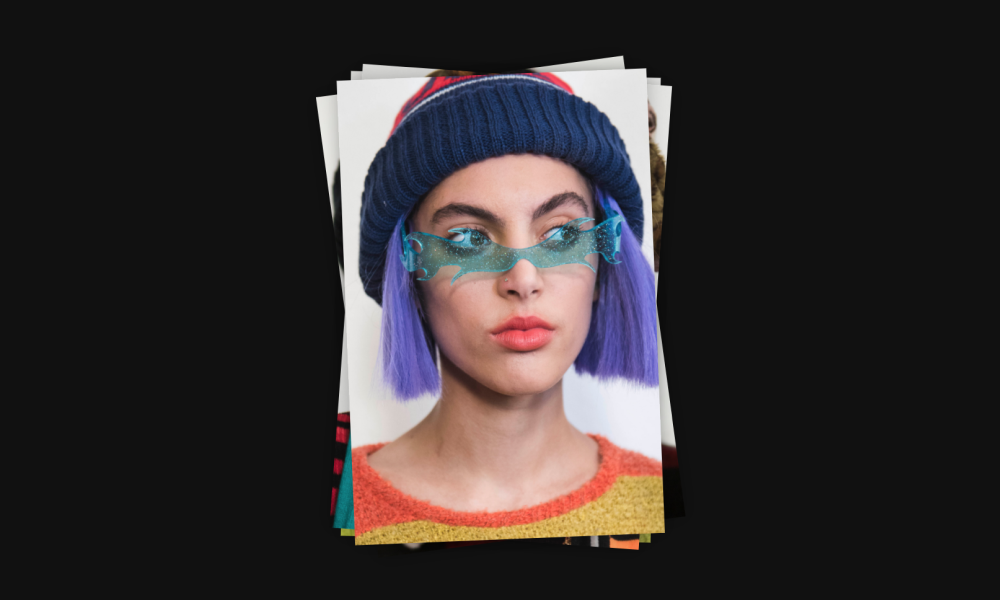
Down on Seal Street, we're wanting to make something more than a simple photo website. In this project, we add in sticky scrolling, wipe effects and fade effects, along with a sprinkle of GSAP timelines.
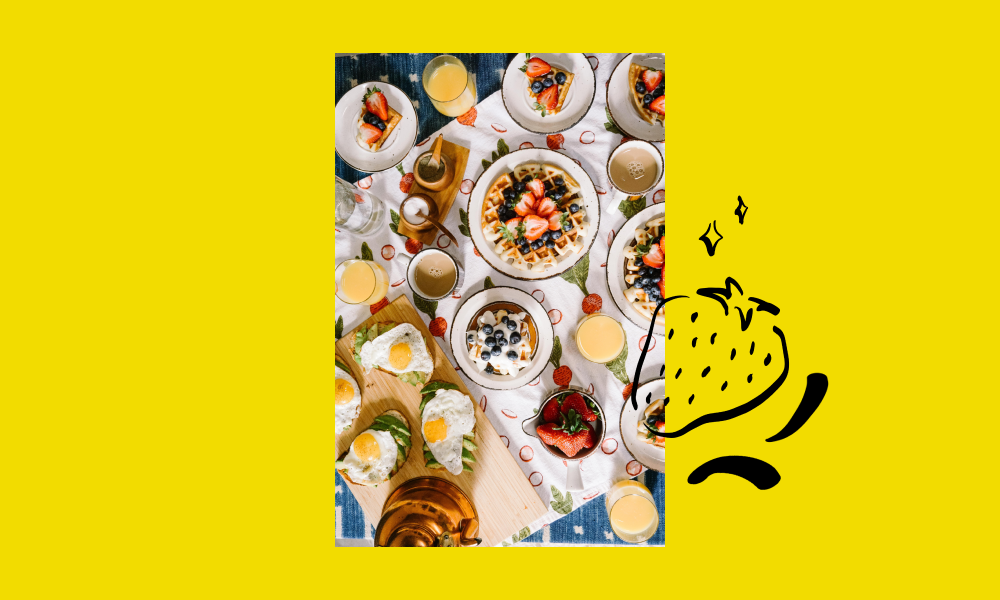
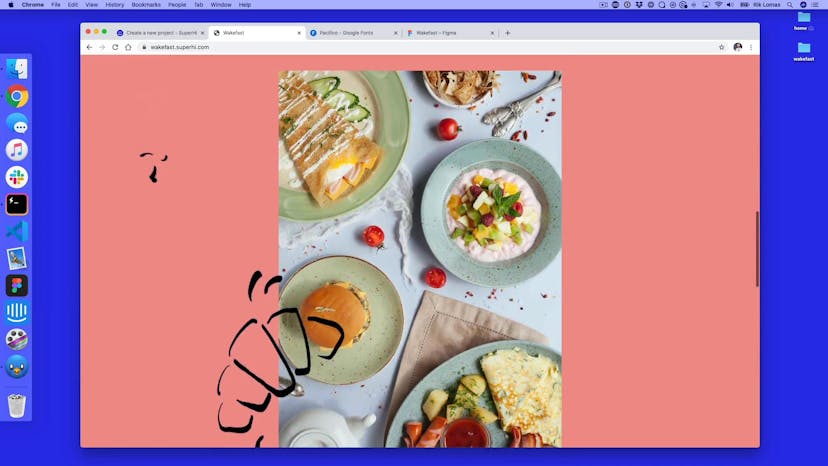
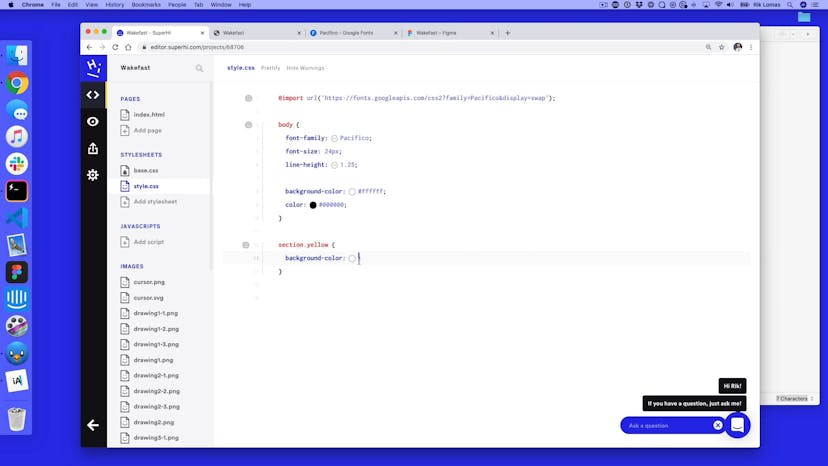
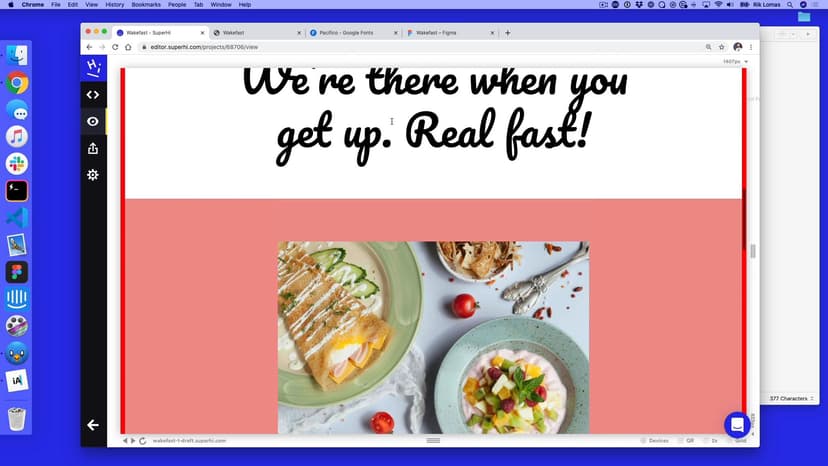
We take breakfast seriously here at SuperHi HQ and with Wakefast, we want to smooth you into the day with some smooth page scrolling and parallax effects on this restaurant delivery site!

Rik (he/him) is a Mancunian coder, teacher and CEO of SuperHi. He was the co-founder of Steer (a code school in London) and has taught several thousand people to code. He is a bit too old to be posting memes on our social media and recently featured as a Sour Patch Kid in the Macy's Thanksgiving Parade.

Jake Brussel Faria
Lesson 01
Welcome to Seamstress

Lesson 02
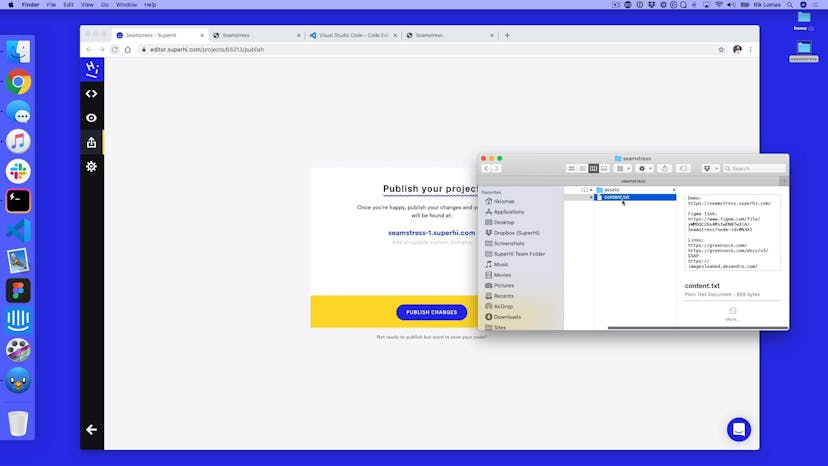
The SuperHi Editor
Lesson 03
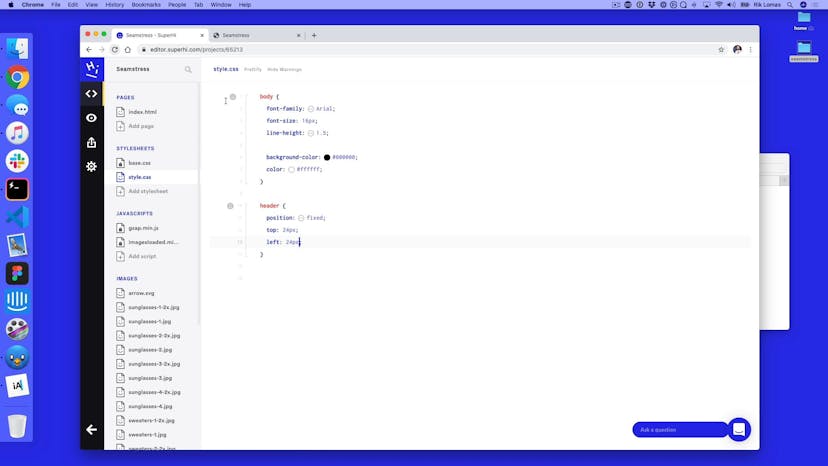
Basic structure and styling
Lesson 04
Laying out the page
Lesson 05
Adding typography using web fonts
Lesson 06
Adding multiple images to our site
Lesson 07
Adding Javascript to the site
Lesson 08
Setting up a slideshow

Lesson 09
Adding multiple slideshows

Lesson 10
Fade in our headers with GSAP
Lesson 11
Creating a carousel effect
Lesson 12
Tidying up our carousel
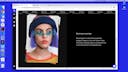
Lesson 13
Adding our intro slides effect
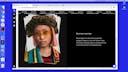
Lesson 14
Creating a timeline for next slides
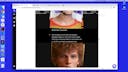
Lesson 15
Mobile friendly design
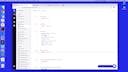
Lesson 16
Adding hover effects to our Read More buttons
Lesson 17
Waiting for images to load with imagesLoaded
Lesson 18
Variations on GSAP
Lesson 01
Welcome to the project!
Lesson 02
Let's set up our page
Lesson 03
Adding a layout
Lesson 04
What are CSS keyframes and CSS animations?
Lesson 05
Adding looping and repeating animations
Lesson 06
How to apply easing to CSS animation
Lesson 07
Making an SVG image from scratch
Lesson 08
Applying CSS to SVG tags
Lesson 09
SVG viewbox and preserveAspectRatio
Lesson 10
Hover states with SVG
Lesson 11
Making our lives easier with exporting SVGs from Figma
Lesson 12
Fill screen and blend modes
Lesson 13
Using CSS animations with SVG tags
Lesson 14
Adding a CSS filter
Lesson 15
Using Javascript for fade out the header on scroll
Lesson 16
Adding Javascript easing
Lesson 17
Tying scroll events to our blobs
Lesson 18
Changing the blob scale per section
Lesson 19
Adding multiple blobs per section
Lesson 20
Custom CSS scrollbar
Lesson 21
Homework: Fade out the arrow on scroll
Lesson 22
Homework solution
Lesson 01
Welcome to 4th Kind!
Lesson 02
Let's set up our page
Lesson 03
Adding our typography and links
Lesson 04
Adding dark mode with a media query
Lesson 05
CSS Variables for themeing
Lesson 06
Updating our dark mode
Lesson 07
User-triggered dark mode
Lesson 08
Adding our navigation
Lesson 09
Toggling our navigation
Lesson 10
Adding raw SVGs to our site
Lesson 11
Adding a menu icon animation
Lesson 12
Dark mode toggle animation
Lesson 13
Adding a triple-nav animation
Lesson 14
Dark mode wiper effect
Lesson 15
Adding our central animation
Lesson 16
Shifting our site on menu open

Lesson 17
The MorphSVG plugin
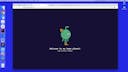
Lesson 01
Welcome home to Home Planet
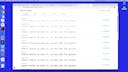
Lesson 02
Setting up our header
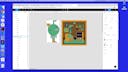
Lesson 03
What are SVG ids
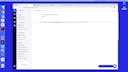
Lesson 04
Eyeball movements

Lesson 05
Adding a hat timeline

Lesson 06
Moving the left and right arms
Lesson 07
Setting up our house animation
Lesson 08
Adding the raw SVG to the house
Lesson 09
Making the TV flicker with a timeline
Lesson 10
Adding links to our SVG
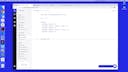
Lesson 11
Adding a label to our links
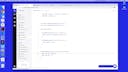
Lesson 12
Updating the text on hover
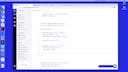
Lesson 13
Fading the other links on hover
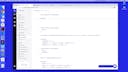
Lesson 14
Setting up a story timeline
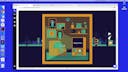
Lesson 15
Adding our scene
Lesson 16
Adding parallax to our scroll
Lesson 17
Combing our timelines
Lesson 18
Making the timeline be based on scroll
Lesson 19
Making the site have responsive design
Lesson 01
Welcome to Seal Street Photo Studio!
Lesson 02
Setting up our page content and style
Lesson 03
Sticky poositioning
Lesson 04
What is an Intersection Observer
Lesson 05
Applying styling to our observer

Lesson 06
prefers-reduced-motion Media Query
Lesson 07
Scroll-jacking with CSS Scroll Snap
Lesson 08
Adding our captions
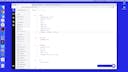
Lesson 09
CSS clip path
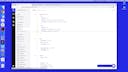
Lesson 10
Variation: Adding clip-path to CSS animation
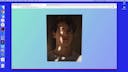
Lesson 11
Adding typography and layers
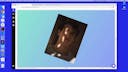
Lesson 12
Adding a rotation layer
Lesson 13
Changing rotation on mousemove
Lesson 14
Adding a media query for reduced motion
Lesson 15
Setting up our intro sequence

Lesson 16
Animating our inbox box
Lesson 17
Adding fixes and optimizations
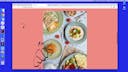
Lesson 01
Welcome to Wakefast
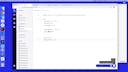
Lesson 02
Setting up our page

Lesson 03
Starting a smooth scroll
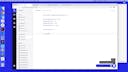
Lesson 04
Moving CSS into Javascript
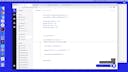
Lesson 05
Replicating a normal page scroll
Lesson 06
Adding a tween factor
Lesson 07
Adding media queries to our Javascript
Lesson 08
Fade in fruits
Lesson 09
Aspect ratios and layering images
Lesson 10
Adding a parallax scroll effect to our fruits
Lesson 11
Faking a cursor
Lesson 12
Tweening the cursor position
Lesson 13
Adding a slower trail cursor
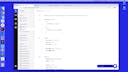
Lesson 14
Adding rotation to our cursor
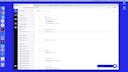
Lesson 15
Animating underlines on links
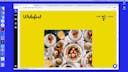
Lesson 16
Adding image underlines with clip-path
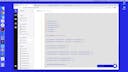
Lesson 17
Adding a media query addListener

Lesson 18
Thank you for taking our course!
Our students are based all over the world and work at creative companies large and small. Why not check out some of their work?
View student workDon’t worry, we are here to help you with:
Remember, there’s no such thing as a silly question, so don’t hesitate to reach out, we love hearing from you!