Intro to Full Stack Javascript
An intermediate-level, 12 hour JavaScript and React.js course designed for budding full stack developers and folks who want to build big things.

Taught by
Sam Nixon


Get access to Intro to Full Stack Javascript
- Practical, go-at-your-own pace learning, with help from our industry experts and experienced teachers
- Projects and code that you can alter and include in your own sites and portfolio
- Resources to get you started and going post-course
Your instructor

Sam Nixon
With support from...

Louise Bishop

Paras Memon
Course structure


Lesson 01
Welcome to the course

Lesson 02
Project intro

Lesson 03
Choosing a lightweight framework to use for our application

Lesson 04
Scaffolding out our application using Vite

Lesson 05
What is TypeScript and why should we use it?

Lesson 06
TypeScript playground

Lesson 07
How should we structure our application?

Lesson 08
Sketching out a skeleton of our application and its components

Lesson 09
Testing a component using vitest

Lesson 10
Testing a component that includes conditionally rendering

Lesson 11
How does authorisation work with the Spotify API?

Lesson 12
Creating an app inside the Spotify platform

Lesson 13
Why should we use .env & gitignore?

Lesson 14
How does authentication work and what is PKCE?

Lesson 15
Utilising API querying tools like Postman

Lesson 16
Mini-refactor

Lesson 17
An aside on temperature

Lesson 18
Calling an API using Axios

Lesson 19
Declaring type interfaces and using TypeScript

Lesson 20
Styling our application using Styled-components

Lesson 21
Typescript undefined vs null errors

Lesson 22
Styling our player

Lesson 23
Exploring dropdowns with react-select

Lesson 24
Grabbing tracks from the Spotify API

Lesson 25
Utilising the react-spotify-web-player to help us interact with the Spotify SDK

Lesson 26
Manipulating local and global Track state

Lesson 27
Grabbing track images from the Spotify API and displaying them in our player

Lesson 28
Pulling track name from our Spotify API data

Lesson 29
Creating a ticker to crawl across our screen

Lesson 30
How do we make text rotate using CSS?
Lesson 31
A rapid roundup of all our hanging UI threads


Lesson 01
Intro

Lesson 02
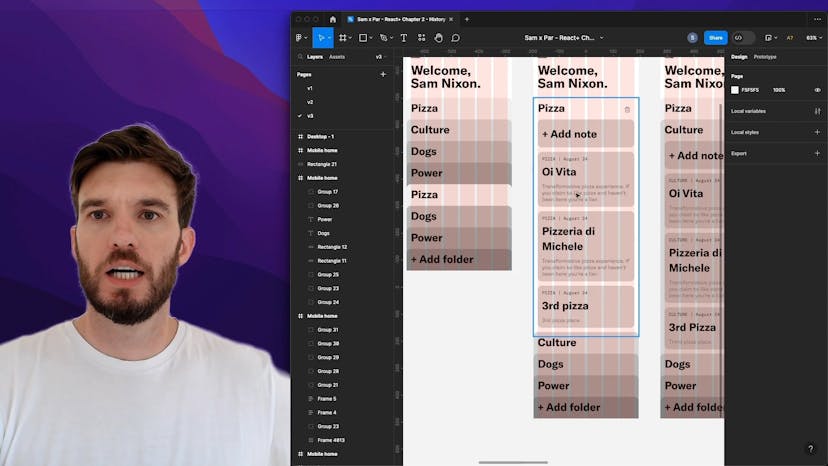
Starting with the design and making some development choices

Lesson 03
Finding your way around the starter files

Lesson 04
Thinking about extensibility

Lesson 05
Modular extensibility in the starter

Lesson 06
Opening and closing a component

Lesson 07
Animation in React

Lesson 08
Adding physics to folders with react-spring

Lesson 09
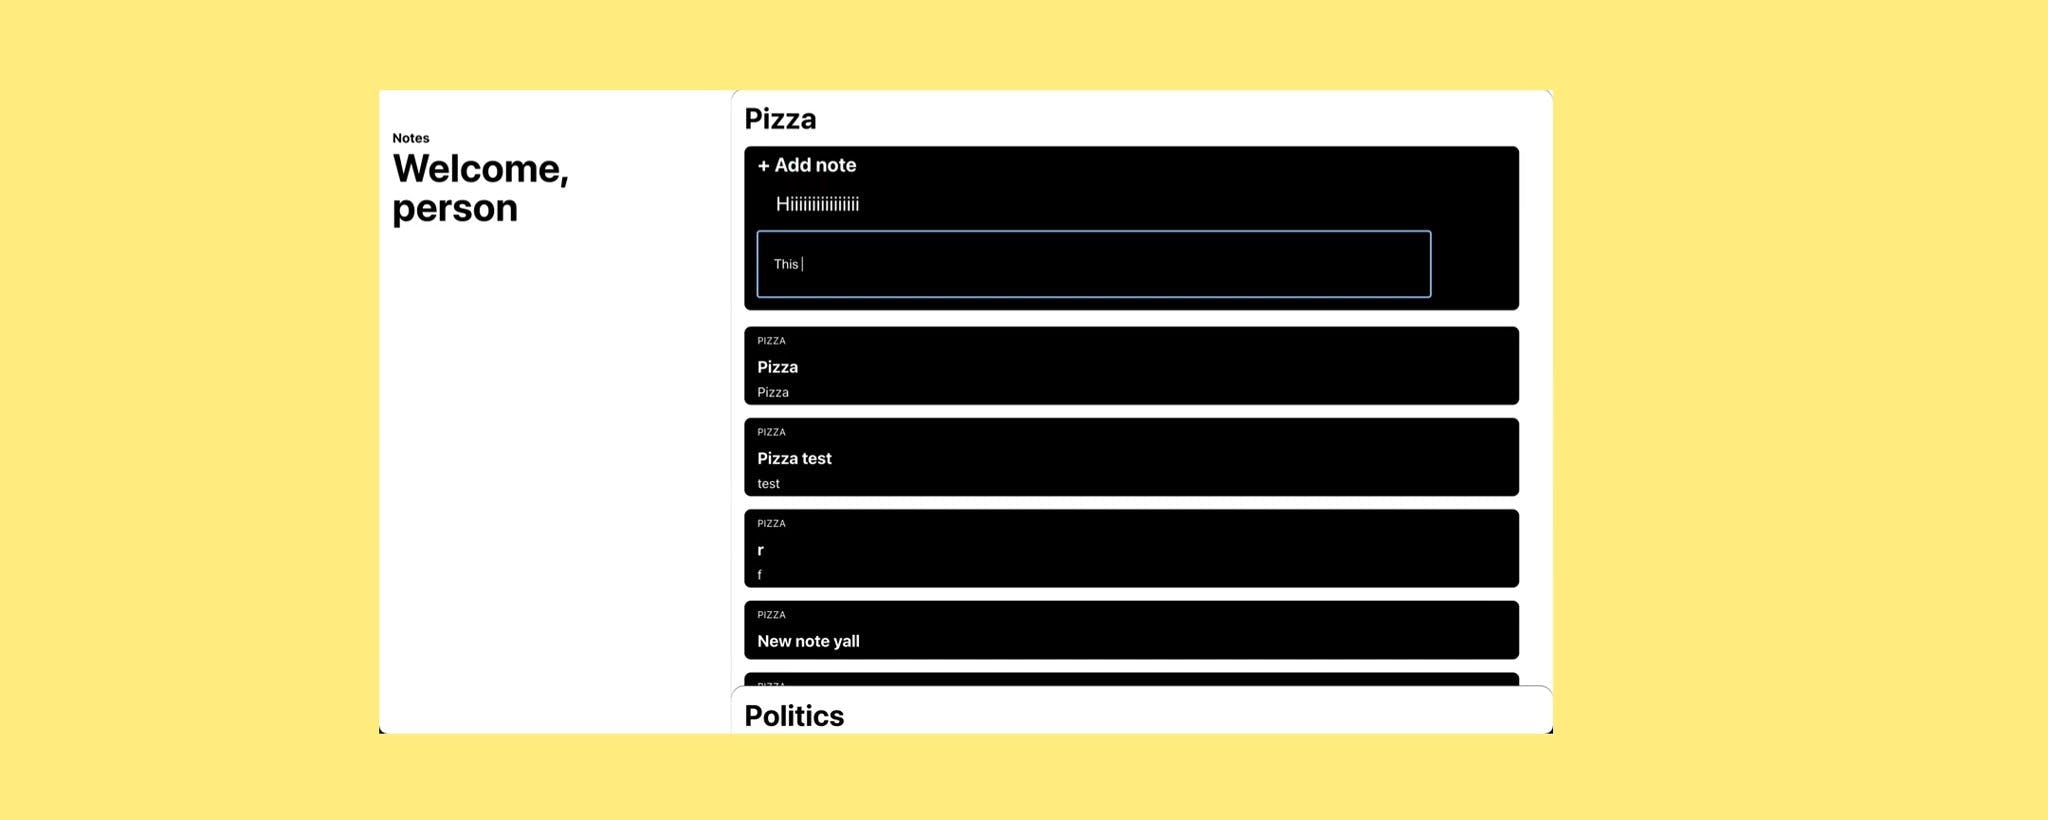
Forms in React

Lesson 10
Adding our AddFolder form with Formik

Lesson 11
Challenge: Adding a form and animating our AddNote component

Lesson 12
Walkthrough: Adding a form and animating our AddNote component

Lesson 13
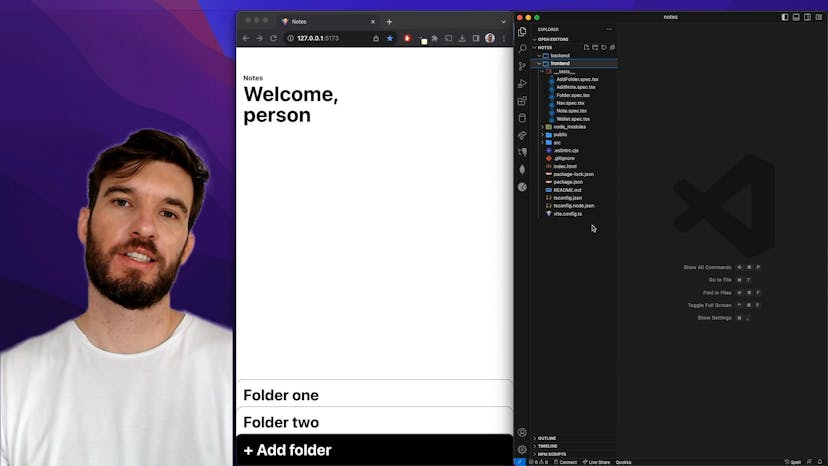
Iterating through our wallet

Lesson 01
Where do we begin with the backend?

Lesson 02
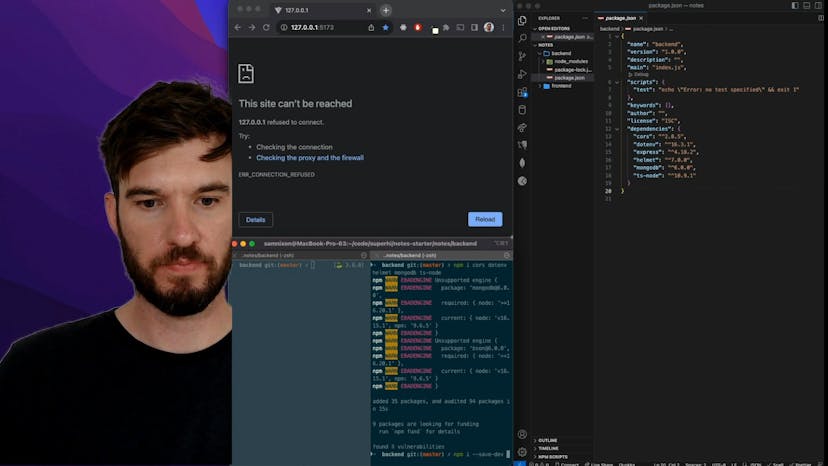
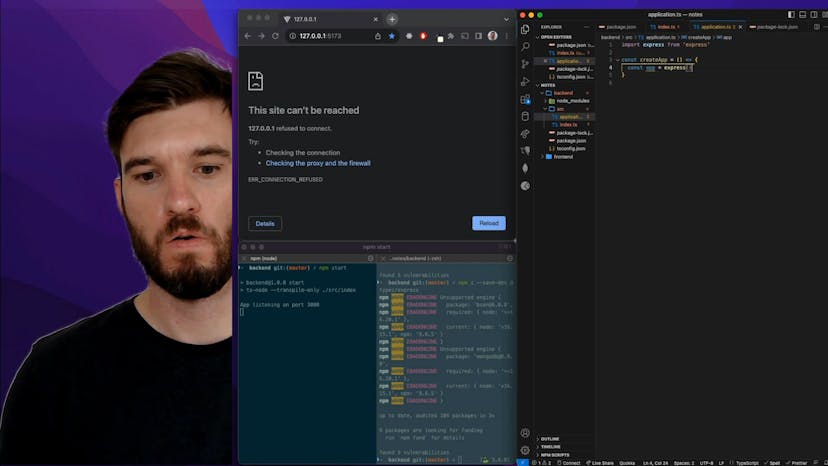
Setting up our server using Node and Express

Lesson 03
Separating application and index files

Lesson 04
Using Middleware

Lesson 05
Picking a database: aka SQL vs NoSQL

Lesson 06
Setting up MongoDB Atlas

Lesson 07
Using a database client

Lesson 08
Using MongoDB in our application

Lesson 09
Safely storing environment variables in .env and .gitignore

Lesson 10
The MVC Pattern

Lesson 11
Establishing our models

Lesson 12
Establishing our Folder controller

Lesson 13
Challenge: Establishing our Notes controller

Lesson 14
Walkthrough: Establishing our Notes controller

Lesson 15
Creating our API using routes

Lesson 16
Testing our API with Postman in VSCode

Lesson 17
Writing a custom hook to access our API

Lesson 18
Challenge: Writing the notes functions in the useApi hook

Lesson 19
Walkthrough: Writing the notes functions in the useApi hook

Lesson 20
Connecting the backend and frontend using a custom hook


Lesson 01
Intro

Lesson 02
Where do we begin?

Lesson 03
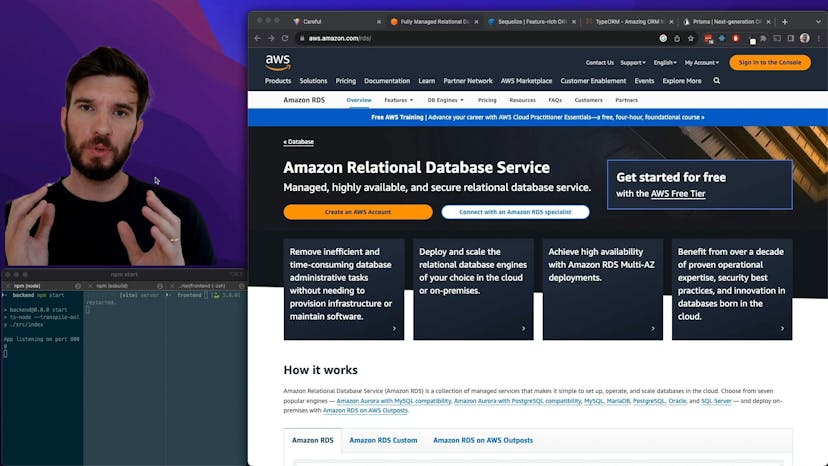
Getting our heads around AWS, MySQL, and ORMs

Lesson 04
Connecting to AWS using a database client

Lesson 05
Connecting to AWS using Sequelize inside our application using db.ts

Lesson 06
Generating models from AWS using sequelize-typescript-generator

Lesson 07
Connecting our models to our Sequelize connection

Lesson 08
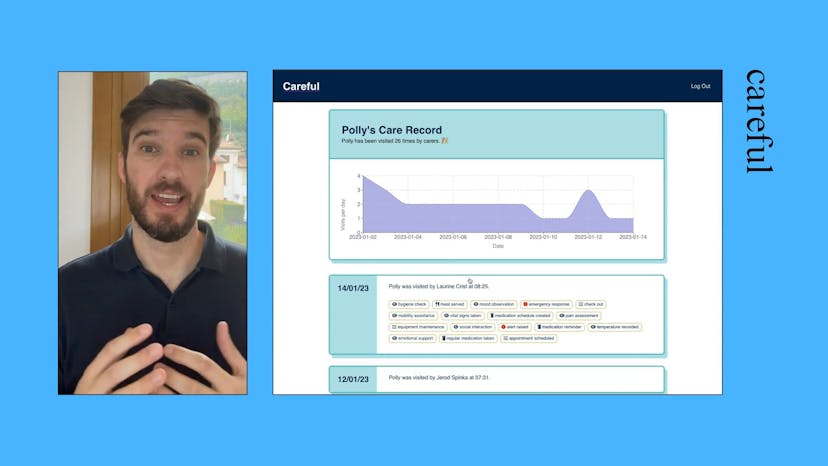
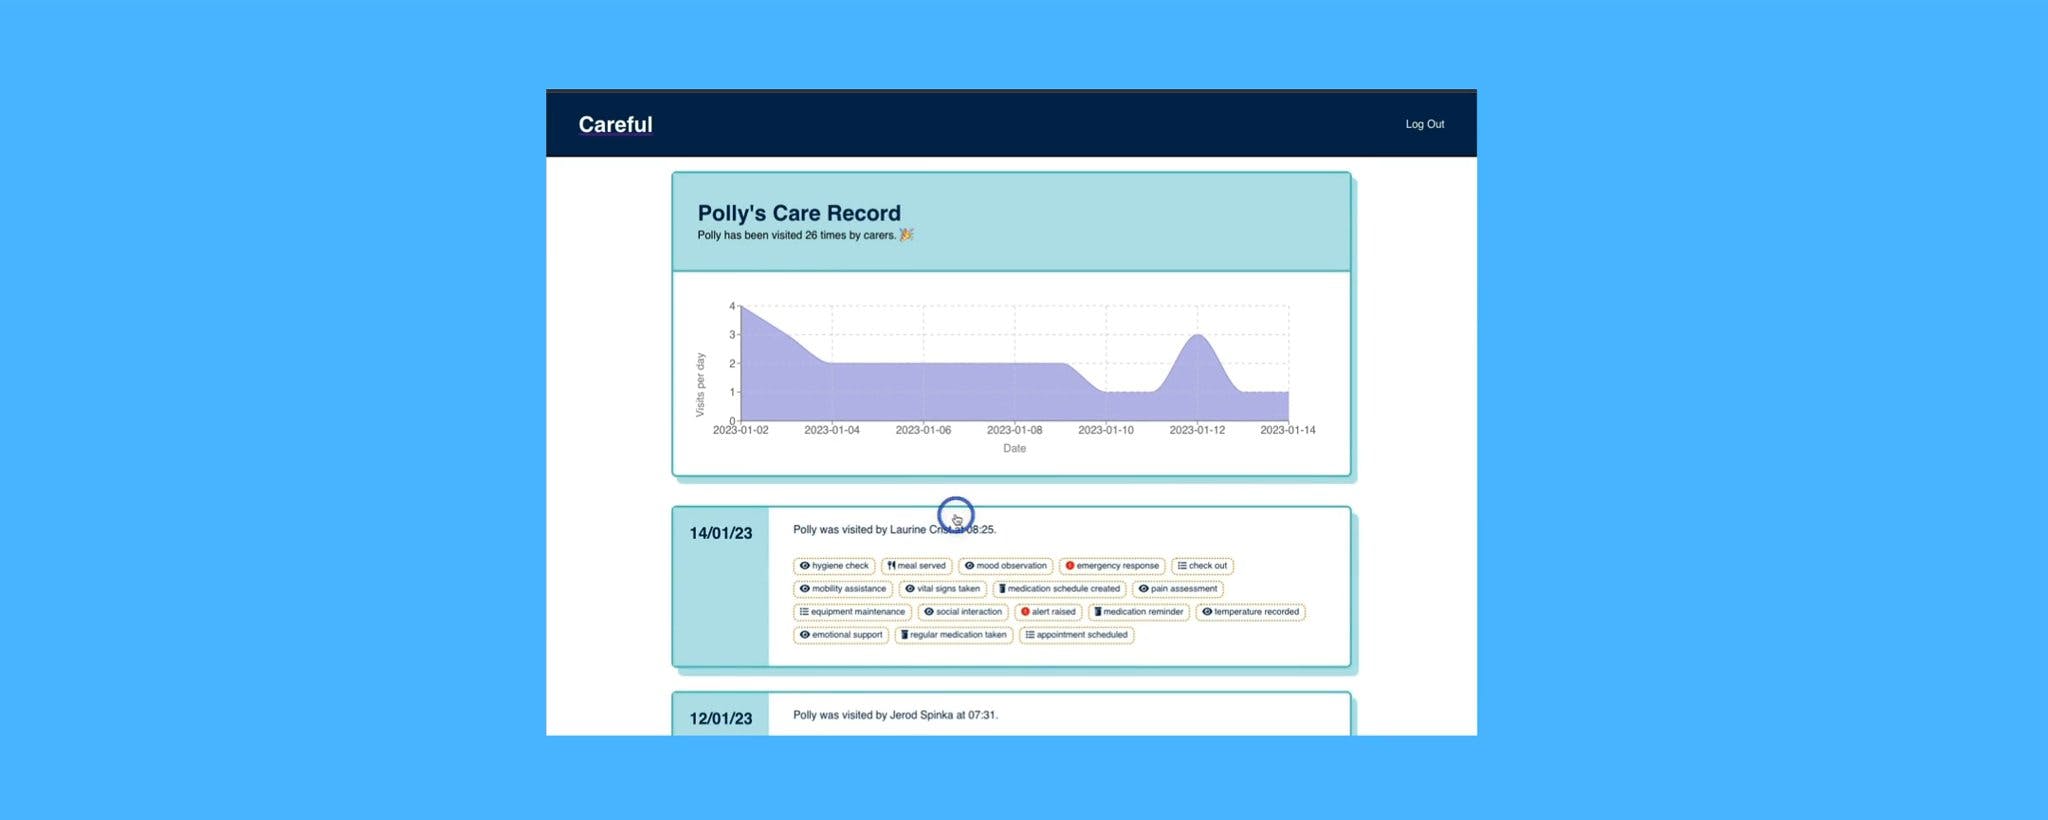
Creating our caregivers and care recipient controllers

Lesson 09
Creating our API with caregiver and care recipient routes

Lesson 10
Creating our events controller

Lesson 11
Exposing our event data via our API

Lesson 12
Optimising our database calls

Lesson 13
API check and CORS policy

Lesson 14
Protecting our API with authentication

Lesson 15
Auth0 setup

Lesson 16
Wrapping our API in tokens

Lesson 17
What do we need to do to add authentication to our frontend?

Lesson 18
Setting up our frontend authentication application on Auth0

Lesson 19
Creating our Auth0 authentication provider

Lesson 20
Creating our login components

Lesson 21
Adding conditional logic to our login components (and fixing Auth0s callback error)

Lesson 22
Grabbing bearer tokens and calling our APIs

Lesson 23
Improving state management

Lesson 24
Challenge: Creating a zustand store for our application state

Lesson 25
Walkthrough: Creating our Zustand store

Lesson 26
Challenge: Refactoring using our new state store

Lesson 27
Walkthrough: Refactoring using our new state store

Lesson 28
Congratulations on finishing React+
SuperHi students work at the best
Our students are based all over the world and work at creative companies large and small. Why not check out some of their work?
View student workFeeling stuck?
Don’t worry, we are here to help you with:
- Speedy help from one of our team members
- Detailed, relevant solutions
- Direct access to peer support through Discord!
Remember, there’s no such thing as a silly question, so don’t hesitate to reach out, we love hearing from you!